A Systematic Approach to Designing Your Model Railroad
If you’ve ever asked, “Where do I even start?” when planning a model railroad layout, you’re not alone. The fastest way to avoid expensive do-overs is to pick a clear theme first—then let that theme guide everything else: track plan, scenery, structures, rolling stock, and operations.
Below is a practical, step-by-step process you can follow. It’s designed to answer the most common questions: What era should I model? Steam or diesel? Freight or passenger? Prototype or freelance? Operations or railfanning?

Quick Table of Contents
- Step 1: Pick Your Era
- Step 2: Steam or Diesel (or Both)
- Step 3: Freight, Passenger, or Mixed
- Step 4: Class 1 or Short Line
- Step 5: Prototype, Freelance, or Proto-Freelance
- Step 6: Operations or Railfanning
- Step 7: Turn Your Theme Into a Track Plan
- Helpful Resources & Related Articles
Step 1: Pick Your Era (This Sets the “Look” of Your Railroad)
Your era is the foundation of your theme. It affects everything you buy and build—locomotives, freight cars, passenger equipment, structures, vehicles, signage, even paint colors and scenery style.
A simple way to choose an era:
- Start with equipment you already own and pick the era that best fits it.
- Choose an era you feel connected to (childhood memories, hometown railroads, favorite photos).
- Pick what’s easiest to model locally (available buildings, vehicles, and details).
Examples of common era “buckets”:
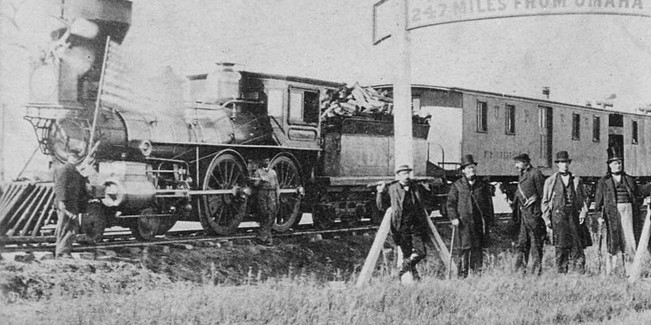
- Early railroading / 1800s – smaller equipment, lighter infrastructure, “old town” scenes.
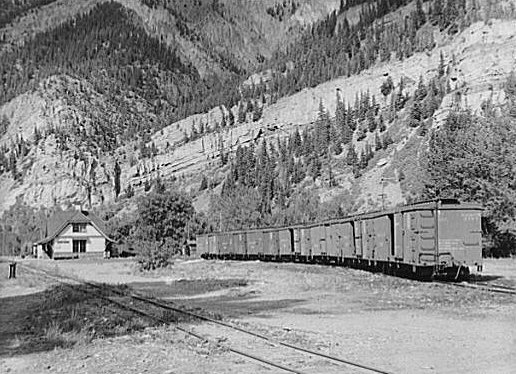
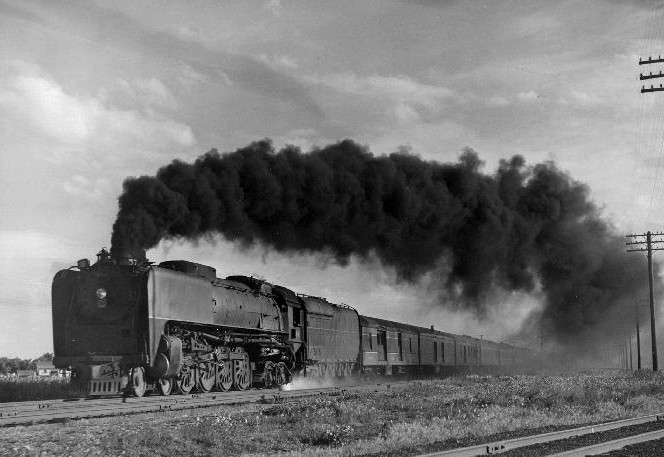
- Steam era – classic stations, coaling towers, water tanks, and heavy industry.
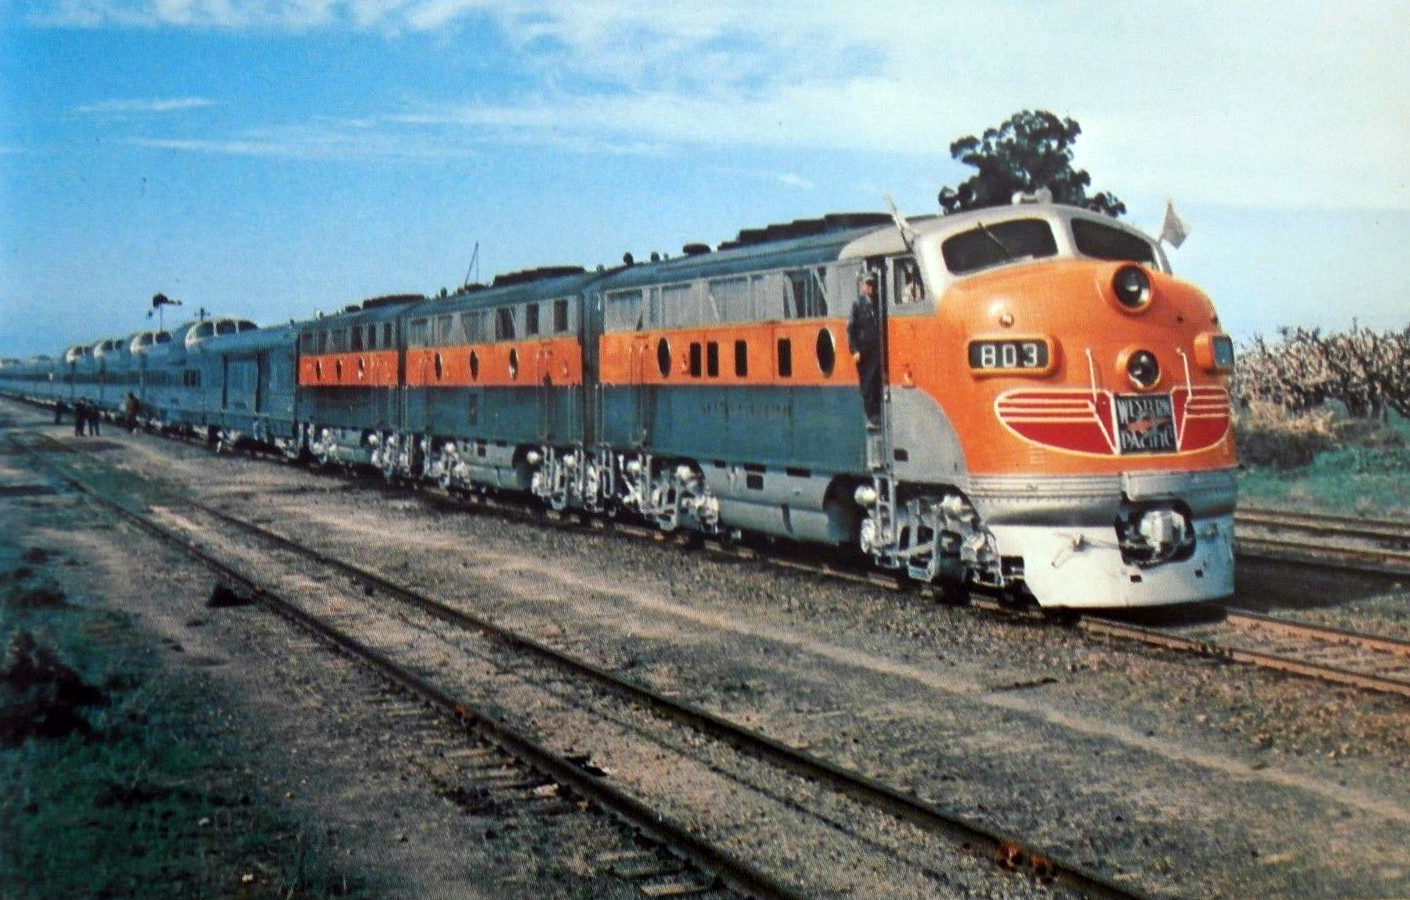
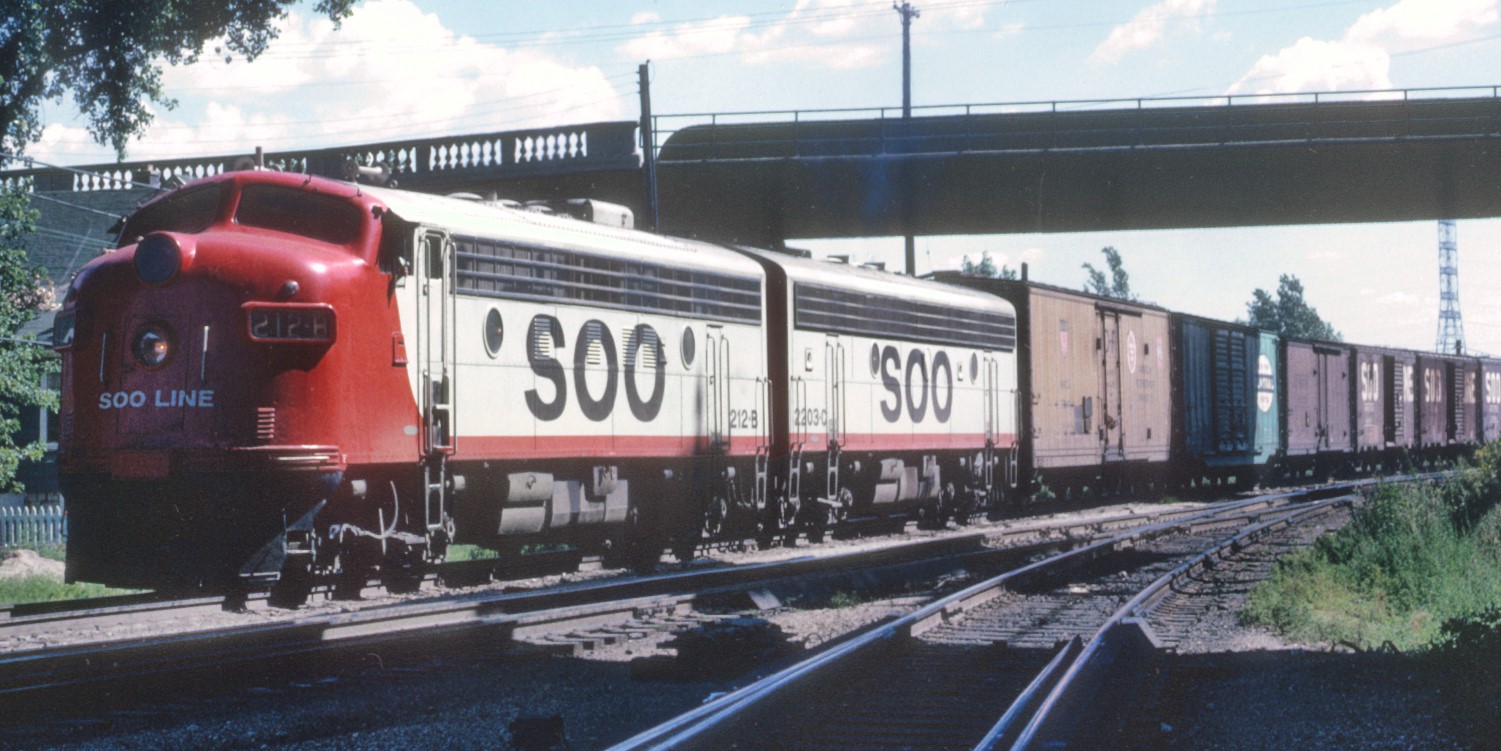
- Transition era – steam and diesel together (huge variety and visual interest).
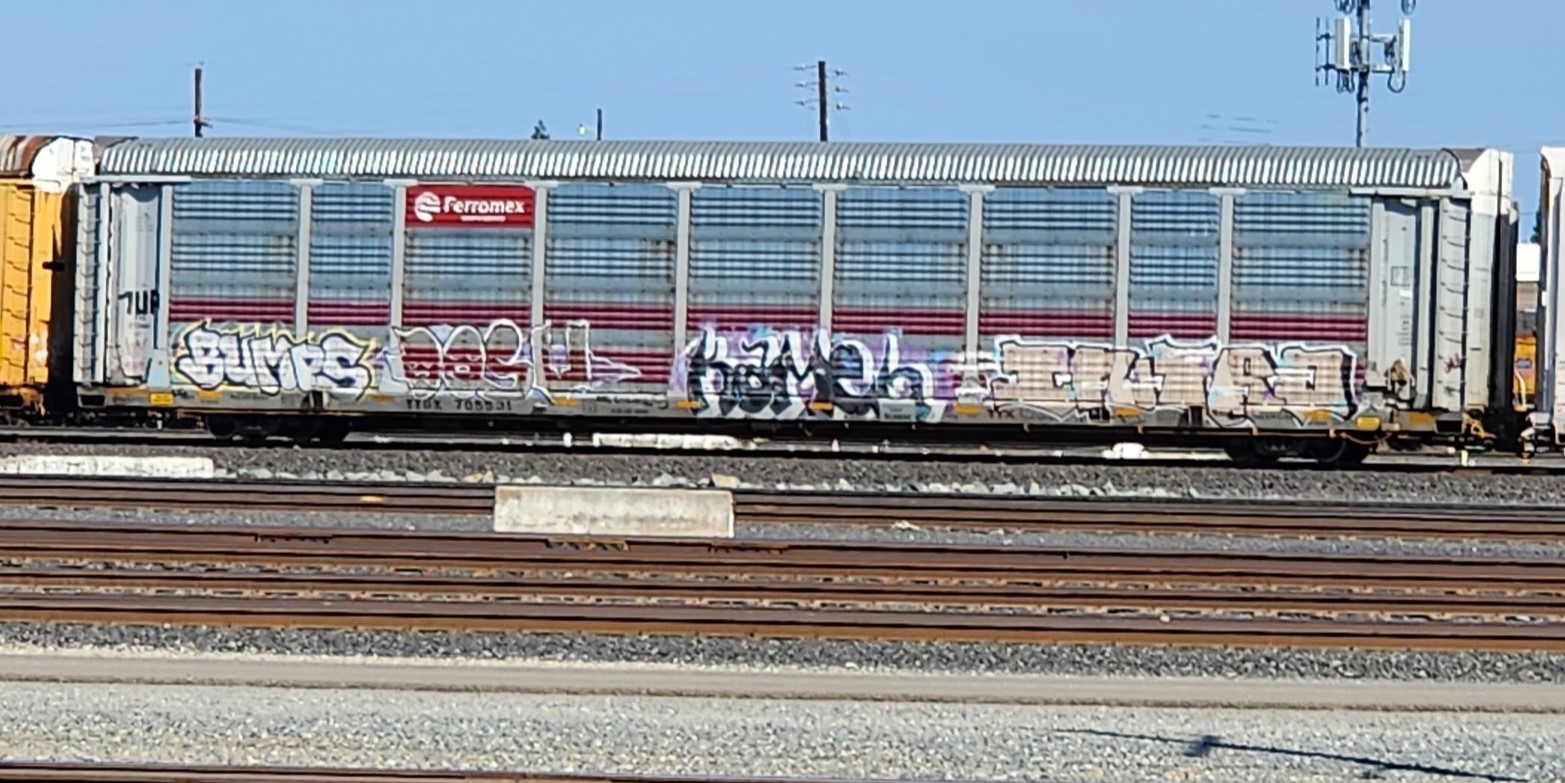
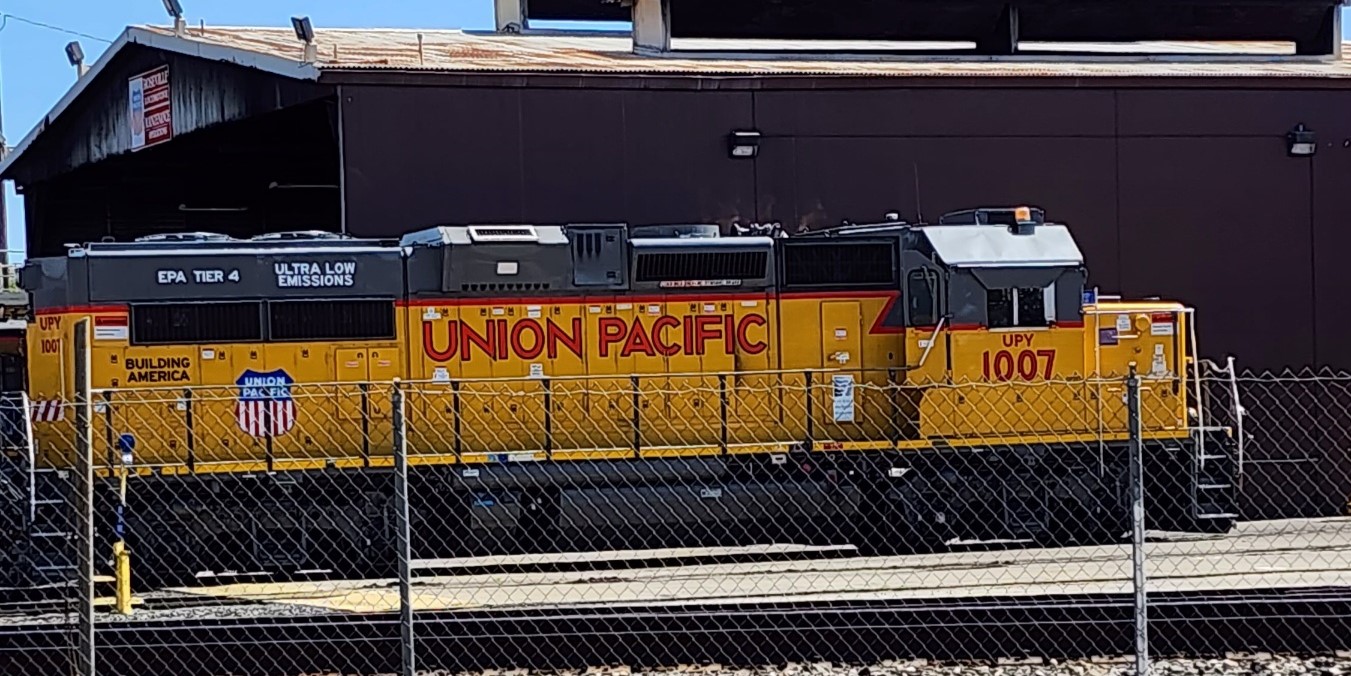
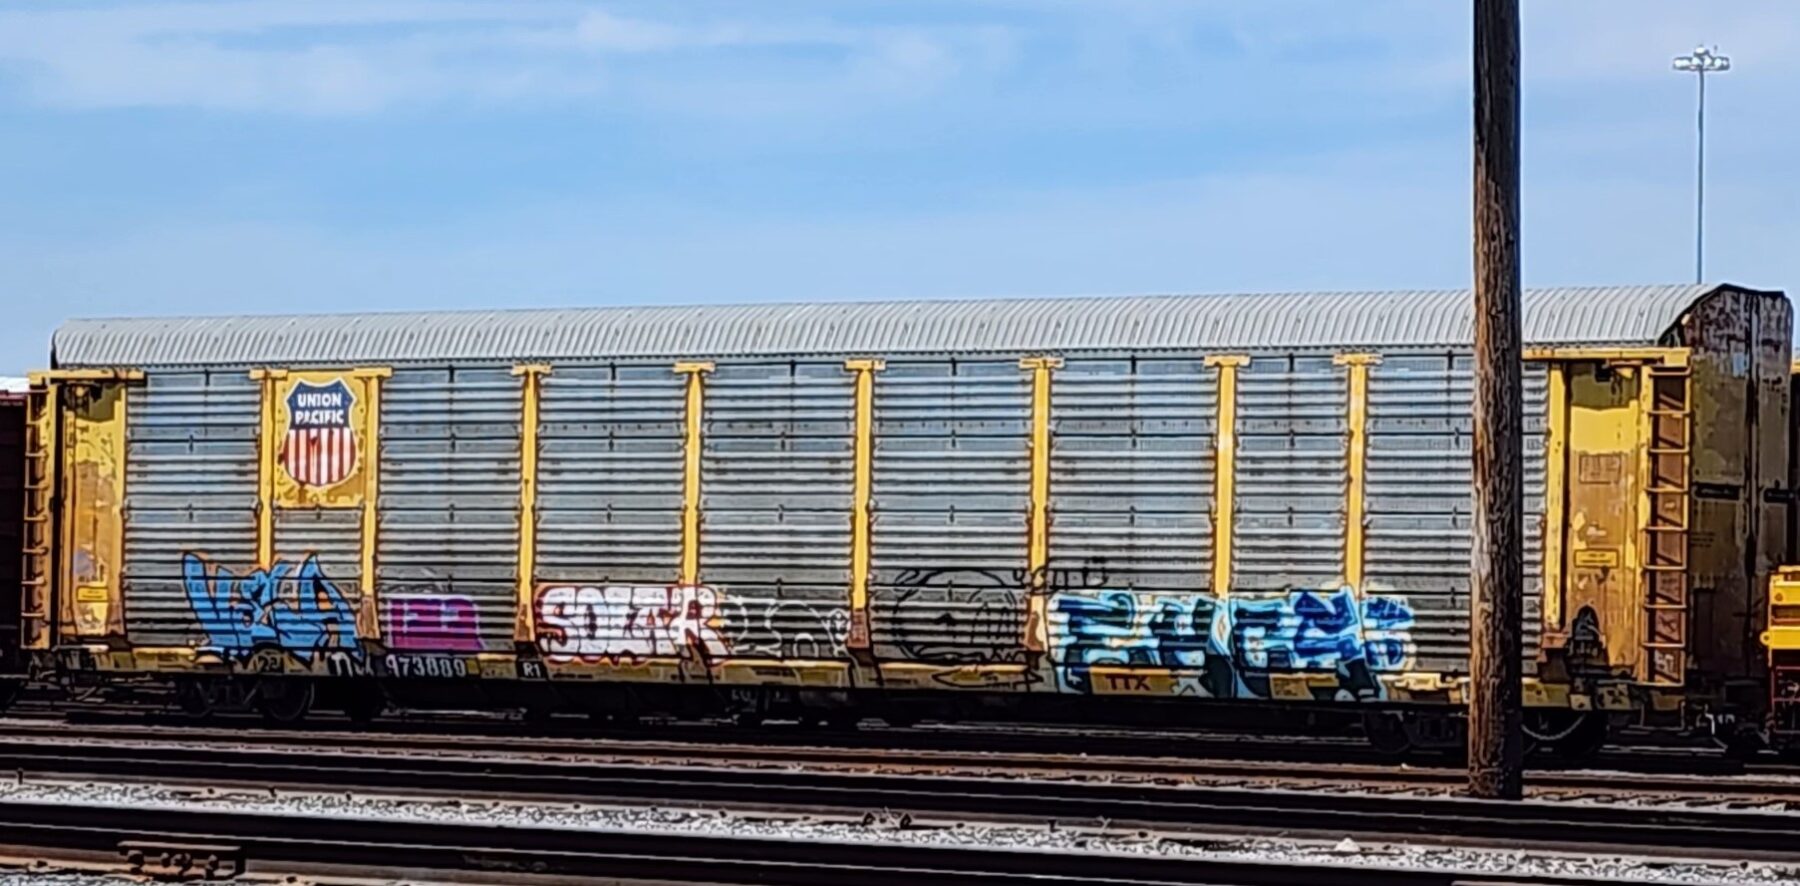
- Modern era – long trains, intermodal, auto racks, contemporary industries and signals.
Tip: If you want a quick reference book on old-time railroading visuals, check out Golden Age of Steam. (Affiliate link.)
Step 2: Steam or Diesel (or Both)
After choosing an era, decide what kind of motive power you want to feature. This choice influences your scenery and structures (coal/water facilities vs. diesel fuel racks, for example), and it can even affect your track plan (train length, staging needs, yard size).
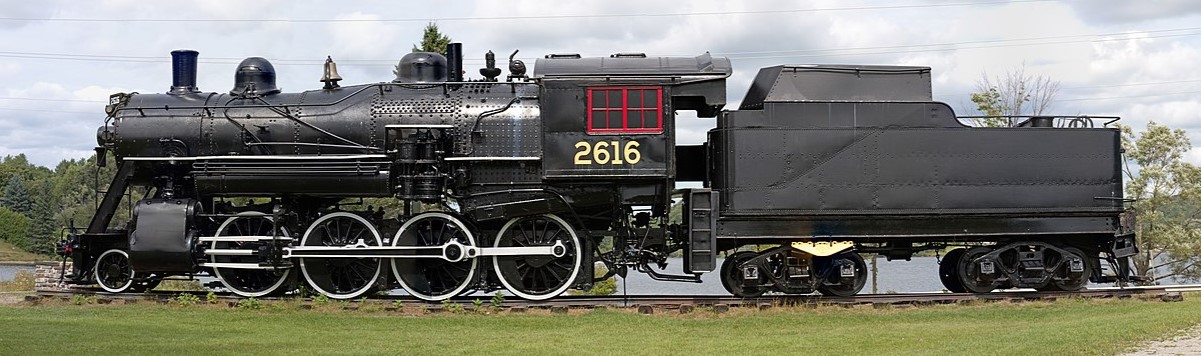
Steam era advantages:
- Classic “railroad atmosphere” and iconic structures (roundhouses, coaling towers, water tanks).
- Great excuse to model heavy industry and smaller towns.
- Locomotive variety is endless—from small switchers to huge articulateds.
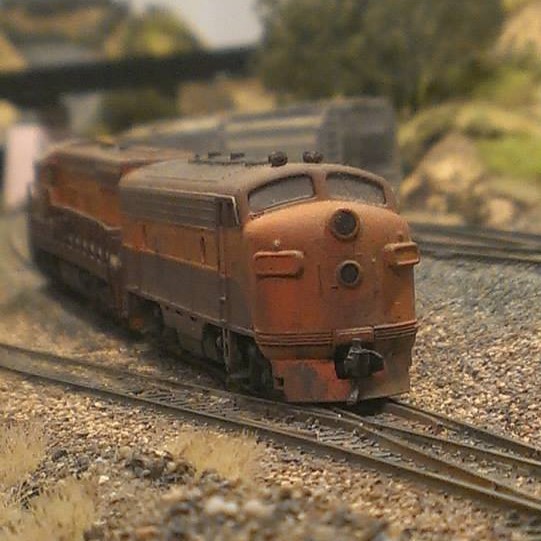
Diesel era advantages:
- Modern freight cars and industries can be easier to source and match.
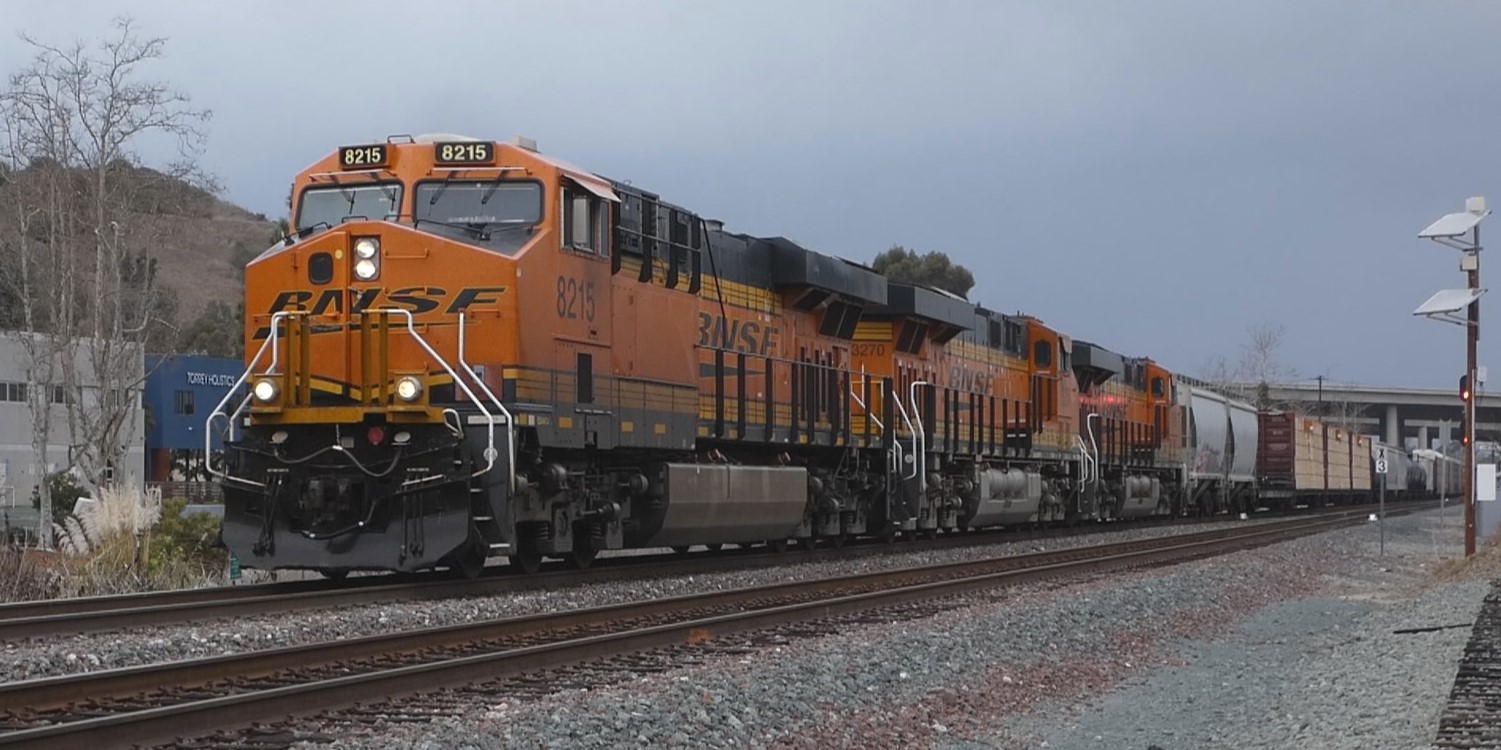
- Long trains, big yards, and contemporary scenes (intermodal, auto racks, unit trains).
- Less “support infrastructure” to model than steam (depending on how detailed you go).
Want to model a famous steam giant? Here are references many modelers enjoy: Union Pacific Big Boy (4-8-8-4) and the 4-6-6-4 Challenger.
The transition era deserves a special mention—because it lets you run steam and diesel together. If you want variety without breaking your theme, the transition era is hard to beat.
Step 3: Freight, Passenger, or Mixed
Next, decide what your railroad mostly “does.” Real railroads exist to move goods and people, and your theme can do the same. This choice affects the type of industries and trackwork you’ll need.
Freight-focused themes:
- Perfect for switching, industry spurs, and “work” trains that justify lots of track.
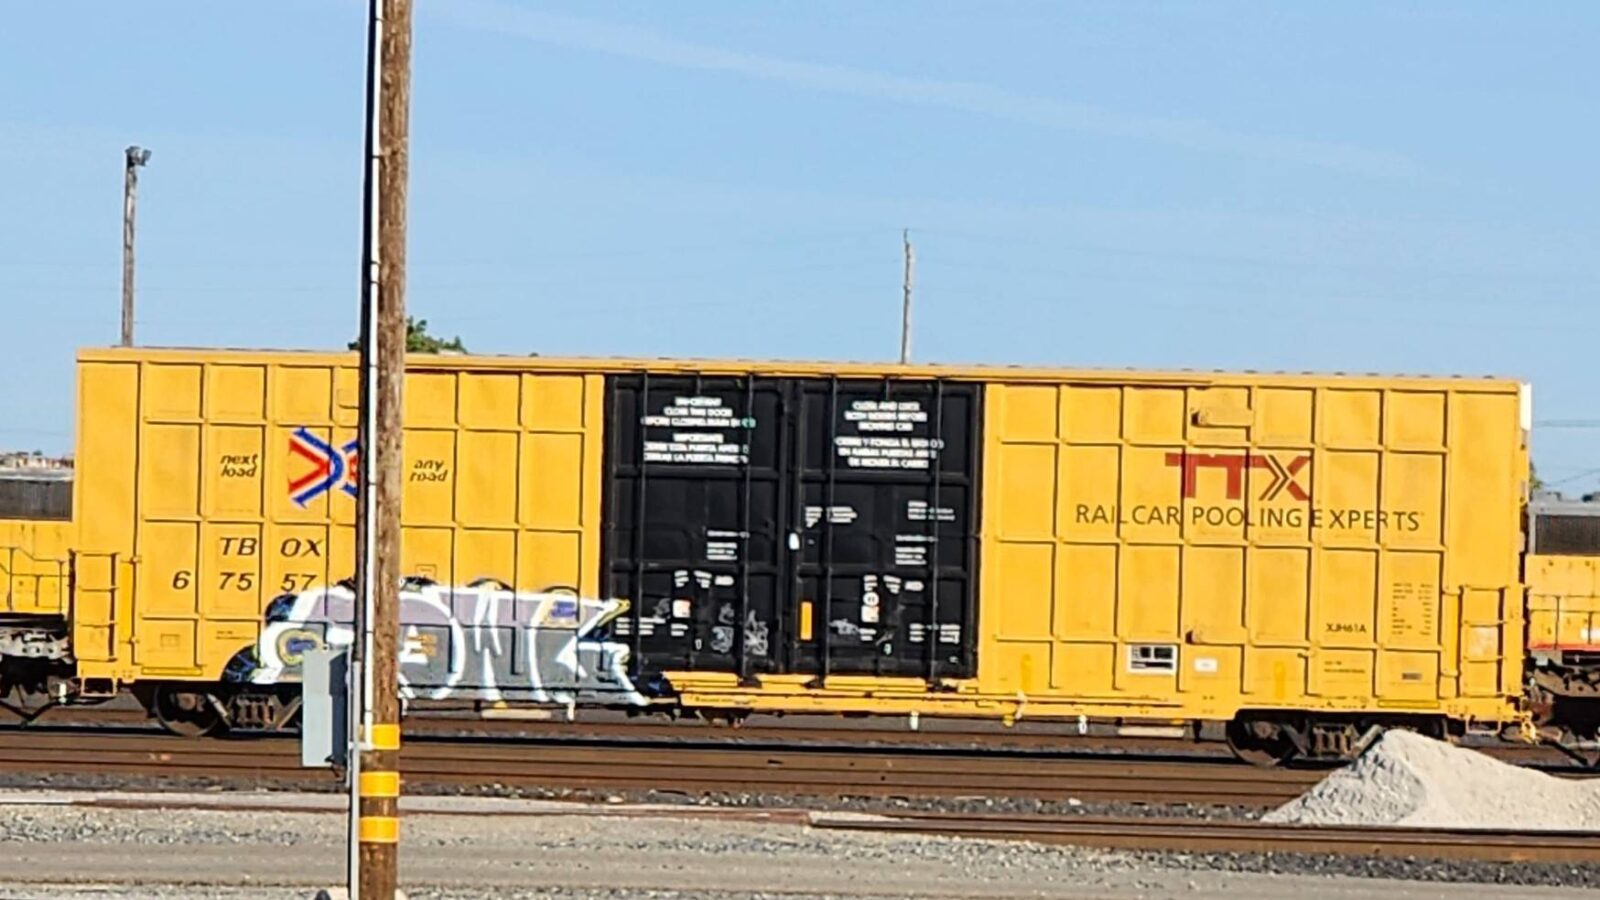
- Lets you model local industries—warehouses, grain elevators, lumber, oil, mining, or modern distribution.
- Modern freight opens up intermodal, auto racks, and unit trains.
Passenger-focused themes:
- Great for station scenes, scheduled meets, and “mainline running.”
- You can model big-city terminals (like a union station) or small rural depots.
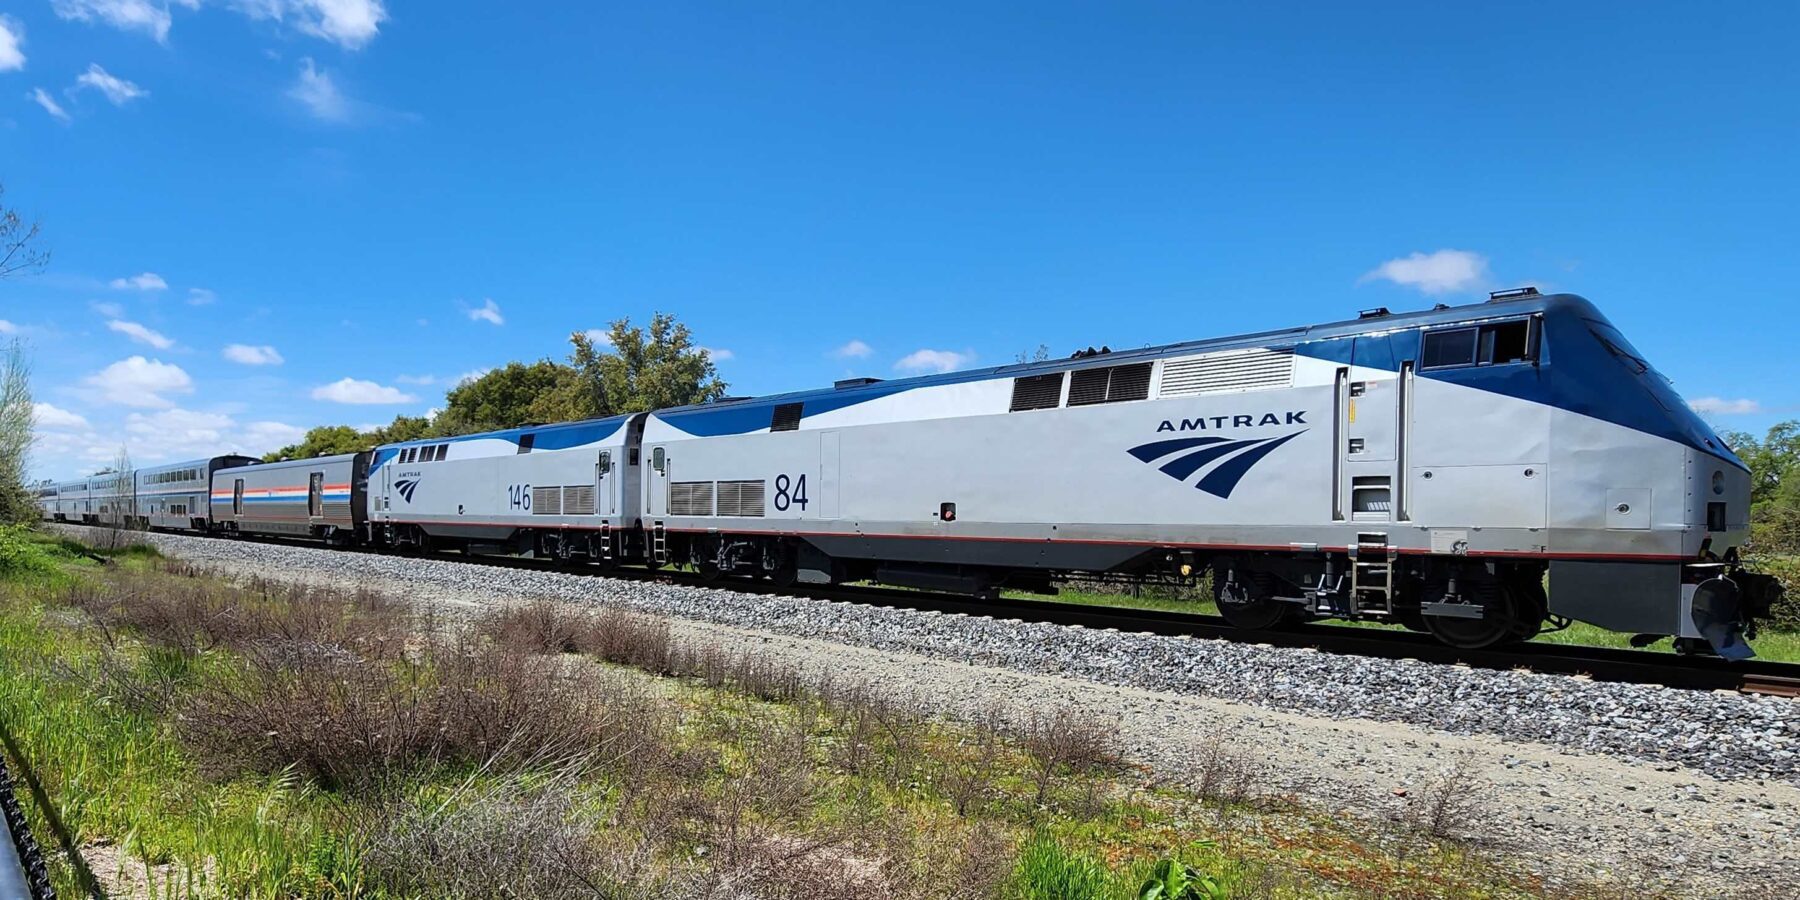
- Modern passenger can be commuter rail, intercity, or both.
Big-city inspiration: Union Station (aerial photo) and modern commuter reference: Metra.
Mixed freight + passenger:
- Often feels the most “real world” because you can justify more variety.
- Gives you more operational options without changing your era.
- Lets you build scenes that feel alive—yards, depots, and industries together.
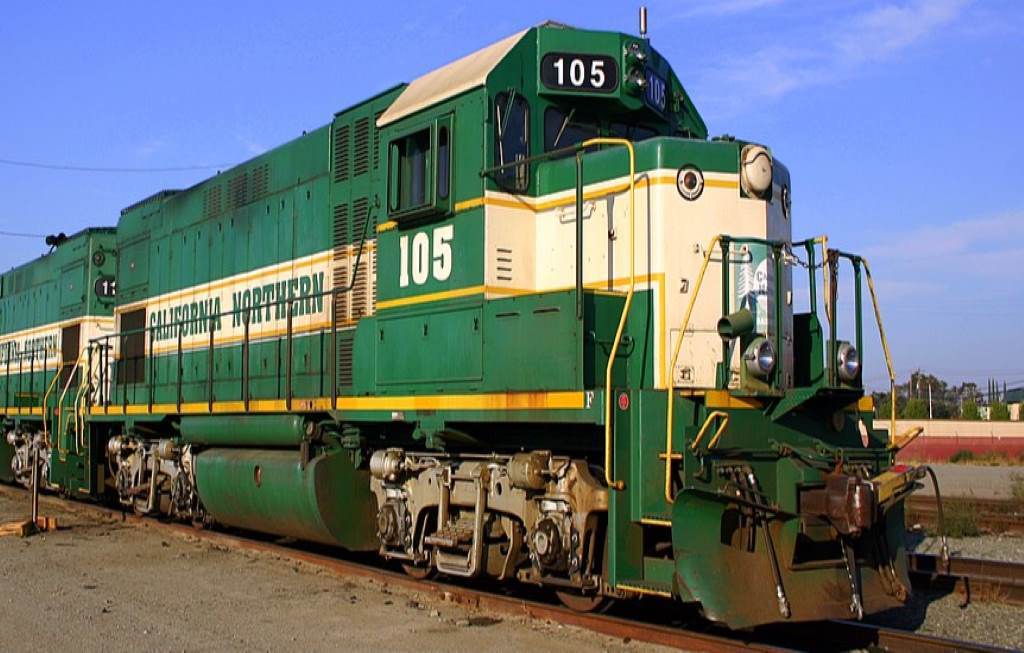
Step 4: Class 1 or Short Line
This step helps you decide the “size and purpose” of your railroad. Do you want a massive, well-known mainline (Class 1), or a smaller regional/short line that feels local and industry-driven?
Class 1 themes:
- Big trains, big power, big yards.
- More mainline running and long-distance feel.
- Fun if you enjoy watching trains roll through scenes.
Short line / regional themes:
- Switching and industry work become the star of the show.
- Smaller yards and tighter scenes can still feel very “real.”
- Great option for limited space because short trains look right.
Helpful reading for short line context: Short Line Railroads (Class 3).
Optional realism booster: If you’re modeling two railroads sharing track, research trackage rights and consider how that would impact your operations and train mix.
Step 5: Prototype, Freelance, or Proto-Freelance
Now decide how “true to real life” you want to be.
- Prototype – You model a real railroad as accurately as you reasonably can.
- Freelance – You create your own railroad name, story, and paint schemes.
- Proto-freelance – A “what if” scenario based on real railroading.
Prototype modeling is often helped by photo references. Two excellent starting points: Fallen Flags Railroad Photos and Amtrak.
If you enjoy diesel history and model references, these can help: EMD GP series and ALCO RS series (search).
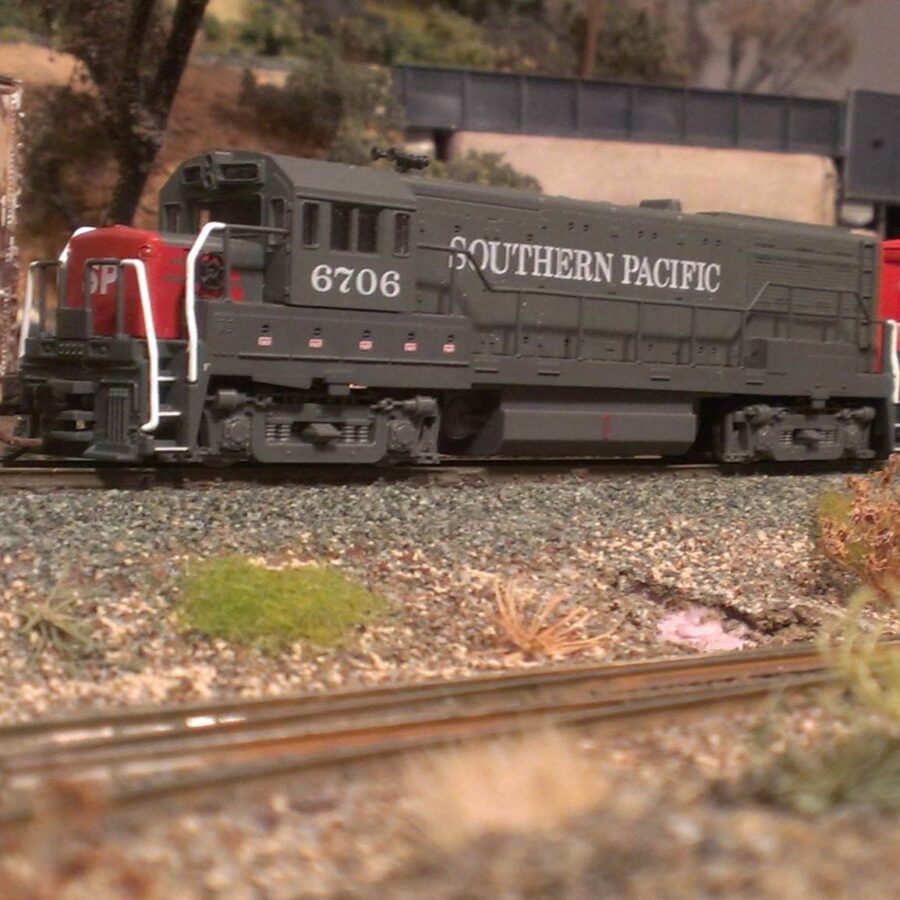
For Southern Pacific inspiration/resources: Southern Pacific Historical & Technical Society (resources).
Proto-freelance often starts with a believable story: a branch line was never abandoned, a merger never happened, or a new short line fills a gap. If you want terminology help, here’s a quick reference on branch lines.
Want to see some of my own layout photos (prototype-inspired but flexible)? Some Photos of My Layouts.
Step 6: Operations or Railfanning
This step determines how you’ll use your railroad once it’s built. Some modelers love realistic switching and purpose-driven trains. Others mainly want relaxing mainline running and great photography scenes. Both are “right”—but your answer affects how much track you need, and what kind.
Operations-focused layouts typically include:
- More industries and spur tracks (reasons to move cars).
- Staging, yards, and switching leads (so trains can work without blocking the main).
- A clear “job” for each train (local, through freight, passenger schedule, etc.).
Railfanning-focused layouts typically include:
- Fewer industries, more emphasis on scenes and realistic trackwork.
- Trackside viewing angles for photography and “watching trains roll.”
- Highly detailed scenery and ballast for realism.
If you’re aiming for realistic track appearance, ballast is a big part of the look: How to Realistically Ballast Your Track.
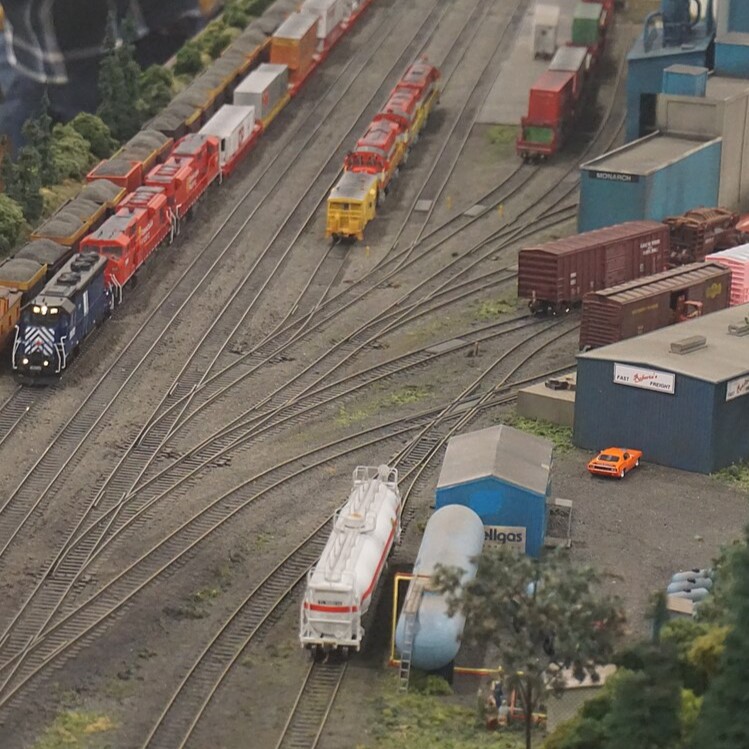
Step 7: Turn Your Theme Into a Track Plan (Where It All Comes Together)
Once you’ve answered the theme questions above, your track plan becomes far easier to design—because you’re no longer guessing. You can design with purpose: train length, minimum radius, yard needs, staging, industries, stations, and scenery all start making sense.
A practical “theme-to-track-plan” checklist:
- List the trains you want to run (freight, passenger, both; short line or Class 1).
- Decide typical train length (this drives siding length and staging needs).
- Choose minimum radius that matches your equipment and space.
- Pick your “must have” scenes (yard, depot, industry row, mountain pass, river crossing, etc.).
- Design the track plan around those scenes instead of adding scenery later as an afterthought.
If you want a guided, step-by-step article on drawing your layout: How To Design A Track Plan For Your Model Railroad. You can also browse more ideas here: Track Plans.
Helpful Resources & Related Articles
- How To Design A Track Plan For Your Model Railroad
- How to Realistically Ballast Your Track
- Designing Your Model Railroad: Basic Design Ideas for the Small to Medium Sized Model Railroad
- Planning (Category)
Final thought: A “systematic” approach doesn’t remove creativity—it protects it. Once your theme is clear, you can be creative with confidence because each decision supports the same overall vision.
If you have questions, drop a comment below and I’ll respond.
James, Model Railway Techniques.com
Last Updated on 1 month ago ago by James from Model Railway Techniques