A model railroad helix design calculator is useful because the relationship between radius, grade, rise, and run is not always obvious by eye. A helix can look generous on paper and still become too steep, too low, or too large once it is built. The calculator stage should help you avoid that problem before you actually buy plywood, cut roadbed, or commit to a room layout.
The first number most modelers consider is radius. Radius controls more than curve appearance. It affects train performance, equipment overhang, track length per turn, and the grade required to reach the next level. A smaller radius saves space, but it will raise the grade and makes long cars or large locomotives less happy. A larger radius improves operation but increases the overall dimensions of the helix.
The second number is rise per turn. This is where many helix designs succeed or fail. The rise has to create enough room for the track, roadbed, structure, and rolling stock clearance. If you only plan from deck height to deck height, you may forget the physical thickness of the material between levels. If you only plan for clearance, you may create a grade that is too steep for your trains.
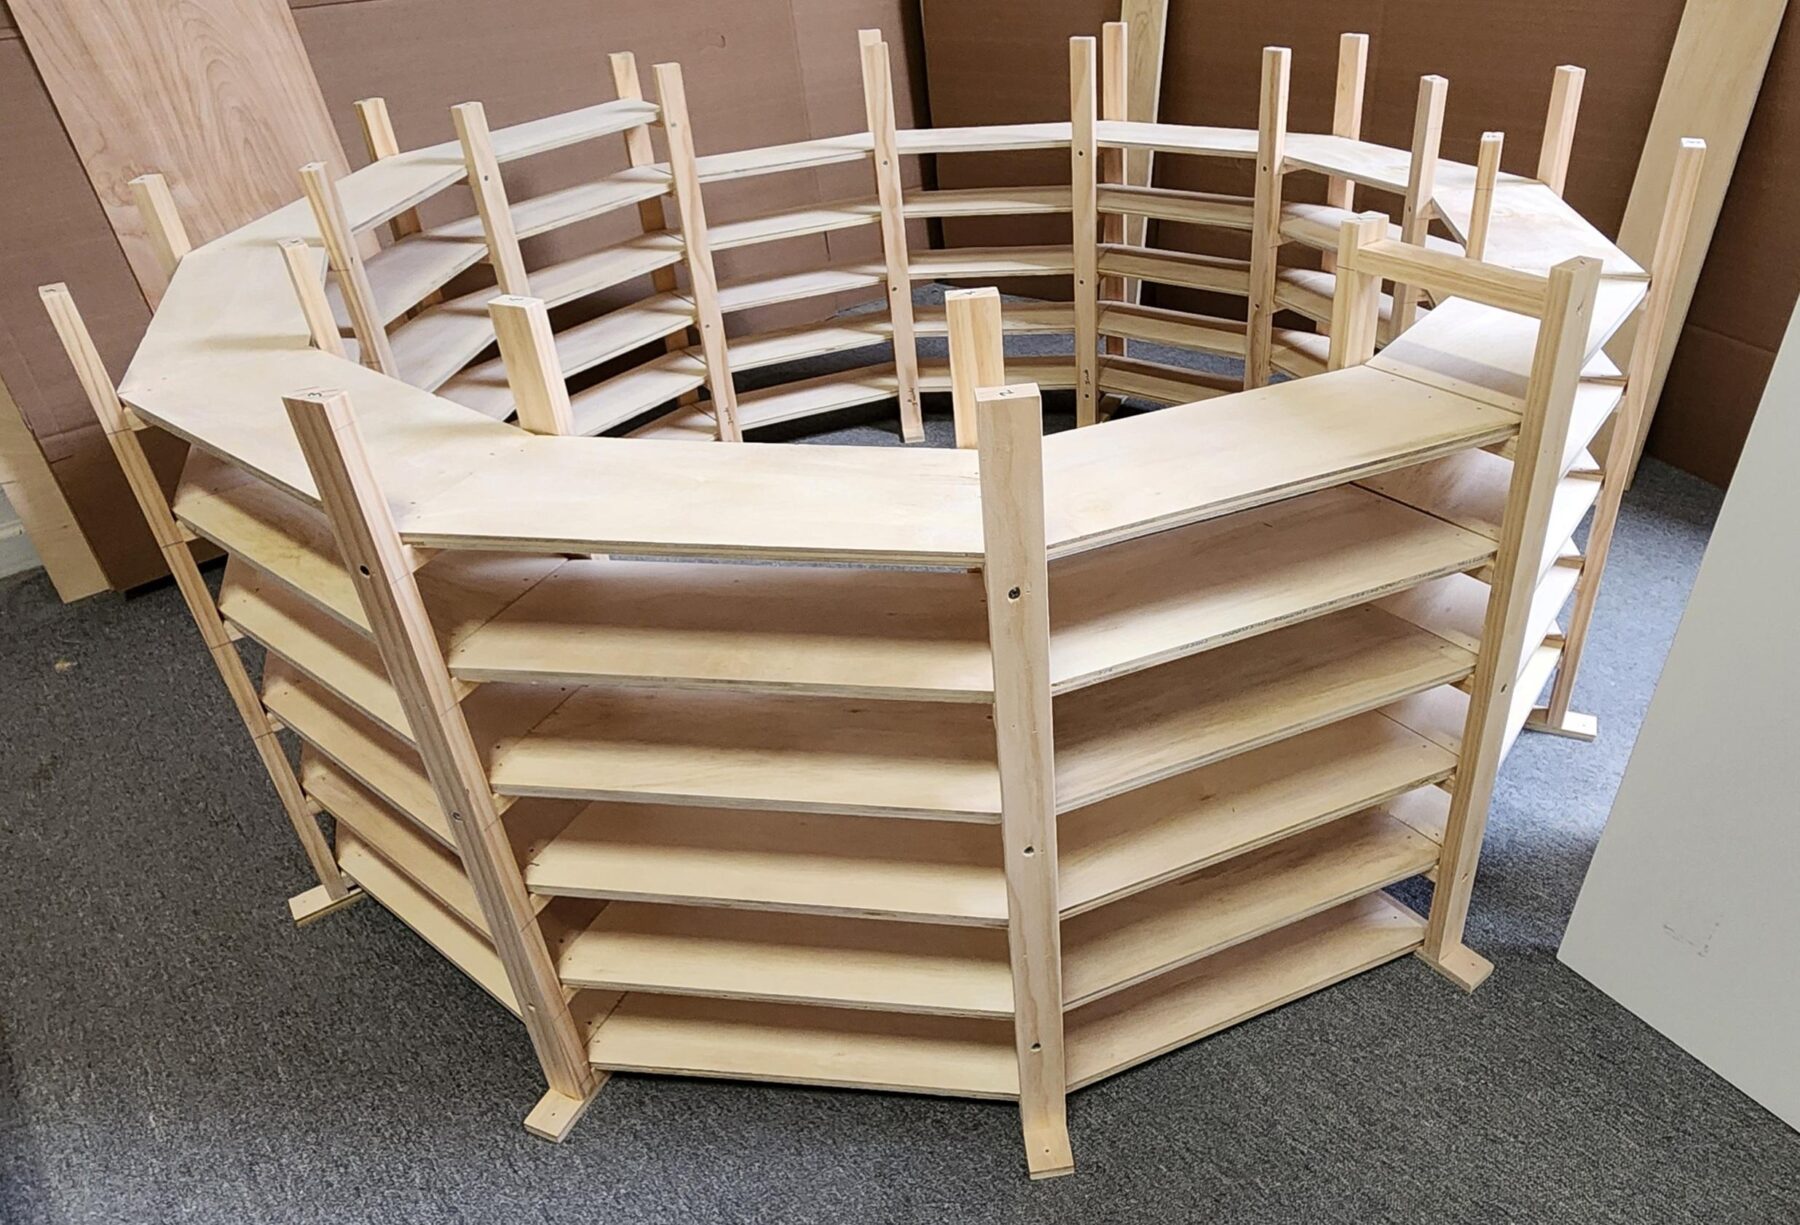
A model railroad helix is comprised of inter-related dimensions, not a mix of random variables
In addition to the radius and rise per turn, a good helix calculator should help you review all of the following:
- Radius and diameter
- Rise per turn
- Grade percentage
- Total run or track length
- Number of turns
- Overall rise
- Inside and outside dimensions
- Roadbed or segment information
Available online calculators can be helpful, but many of them are mainly math tools. They may tell you that a grade works, but they do not tell you how to cut the parts, where pieces go, how many sections you need, or what the finished footprint will look like as a buildable assembly. In essence, you only have the math portion of the helix, but you are lacking the actual blueprint to fabricate and build one.
That is the reason the Helix Builder™ Digital Helix Design & Build Package is different from a basic calculator page. It combines a browser-based helix design tool with PDF shop drawings, a cut-list approach, and assembly information. All of those components are based on our actual helix kits and use the same methods and fabrication methods. For a diy builder, that is the bridge between “the math looks good” and “I can actually fabricate this.”
Why the calculator should come before the saw
Plywood is expensive, and a helix usually requires many repeated parts. Even a small layout error can multiply quickly. If one segment is wrong, the same mistake may be repeated around the entire helix. Checking your grade, clearance, and footprint before cutting is much easier than trying to repair a completed spiral later. Determining the measurements beyond a traditional helix calculator tool takes knowledge and experience and is critical to the complete assembly process.
Before you cut, run several design options. Try the radius you want, then test a larger radius if space allows. Try different rise-per-turn values. Check the total height and total run. If the numbers look tight, do not ignore that warning. The calculator is telling you where the real-world build may become difficult.
To move from helix math to helix construction, visit the Helix Builder™ product page and see how the digital design package can help turn radius, grade, and clearance into a more organized build plan.
Benchwork Builder Pro, PDF Benchwork Plan Packages, Digital PDF Model Railroad Table Plan Packages, “PRO” Digital Benchwork Plan Packages, Model Railroad Benchwork Cut List & Plan Generator, Helix Builder, EZ-FOLD NTRAK Modules, EZ-FOLD Free-Mo Modules, and The Model Railroad Benchwork Store are Trademarks of The Model Railroad Benchwork Store/Model Railway Techniques.com and may not be reproduced, copied, or redistributed in any way without prior written consent by The Model Railroad Benchwork Store/Model Railway Techniques.com
Copyright 2026 The Model Railroad Benchwork Store/Model Railway Techniques.com All Rights Reserved
Last Updated on 3 weeks ago ago by James from Model Railway Techniques