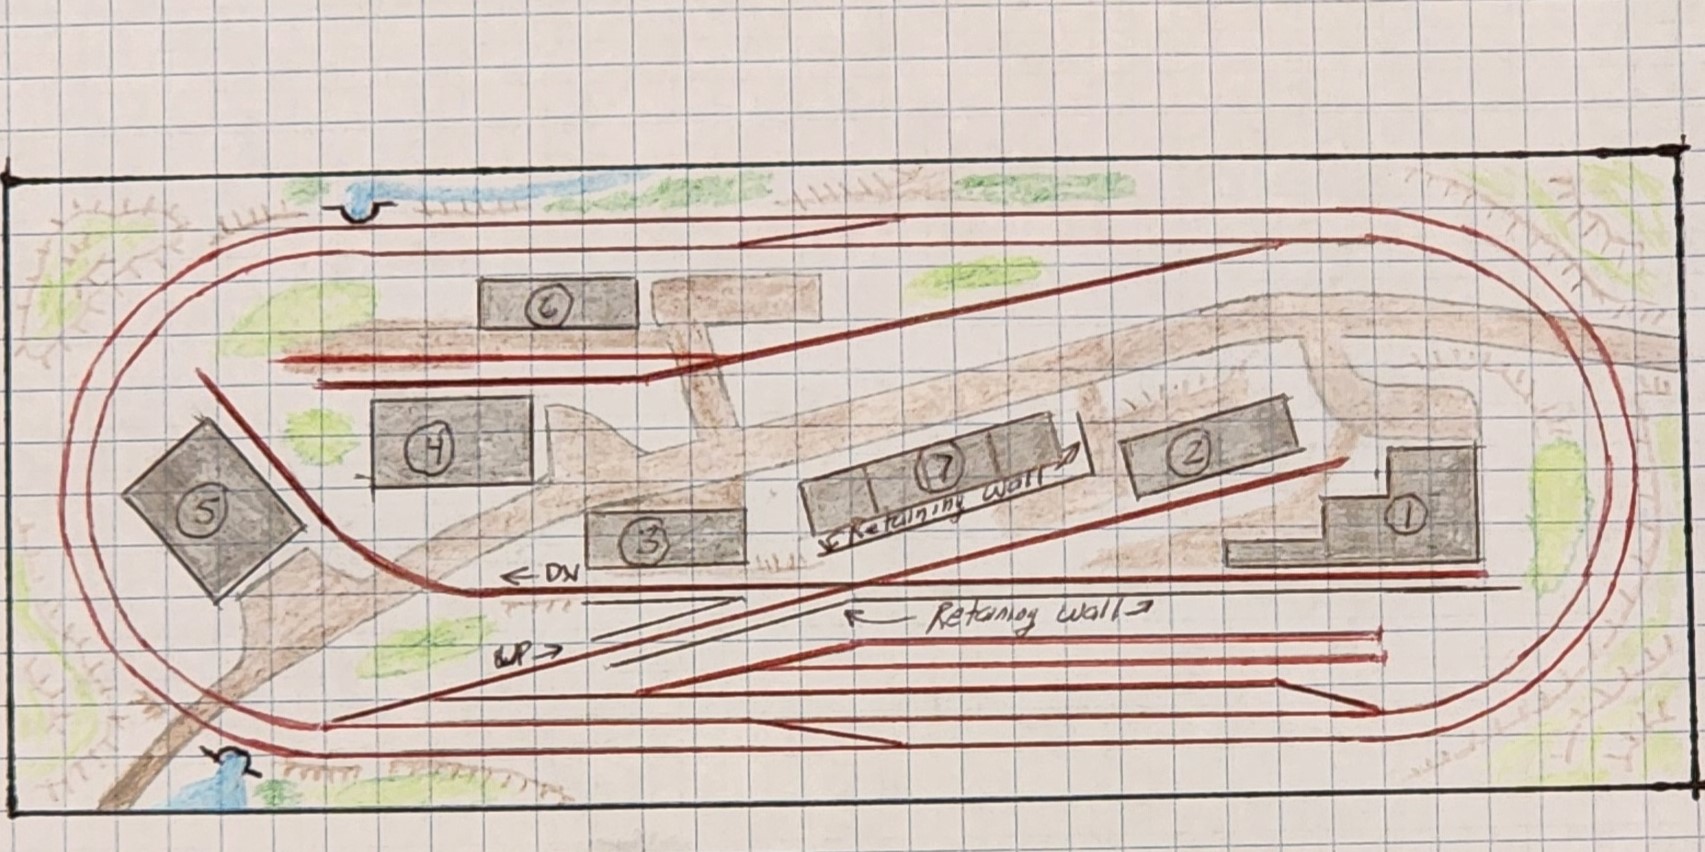
In this quick companion post to HOW TO DESIGN A TRACK PLAN FOR YOUR MODEL RAILROAD, we will show you how to use a drafting compass to draw your scale Model Railroad Track Plan. Accurately drawing the radius for your curves is essential in creating a scale plan for your layout. The four quick steps below will have you drawing accurate curves in no time, so lets get started.
SETTING YOUR TRACK RADIUS
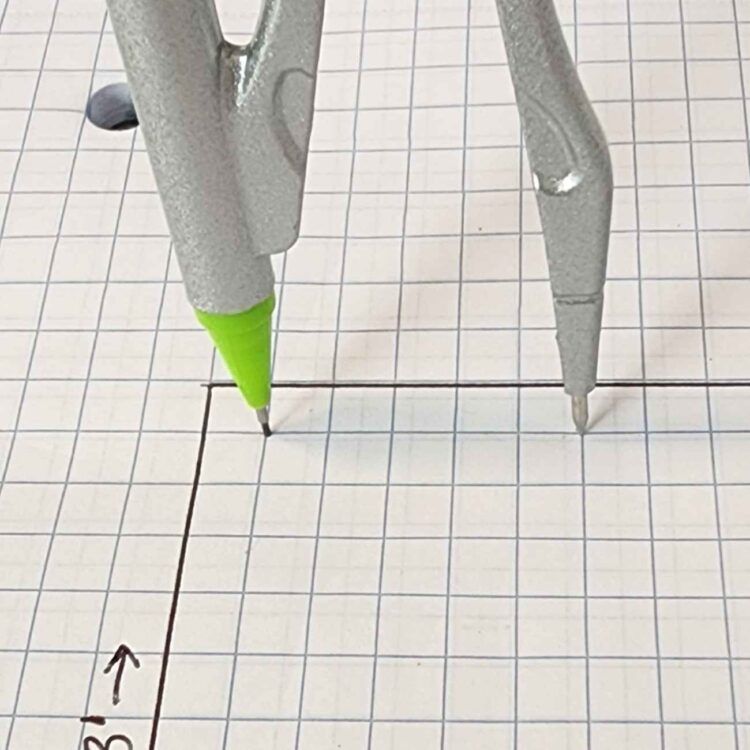
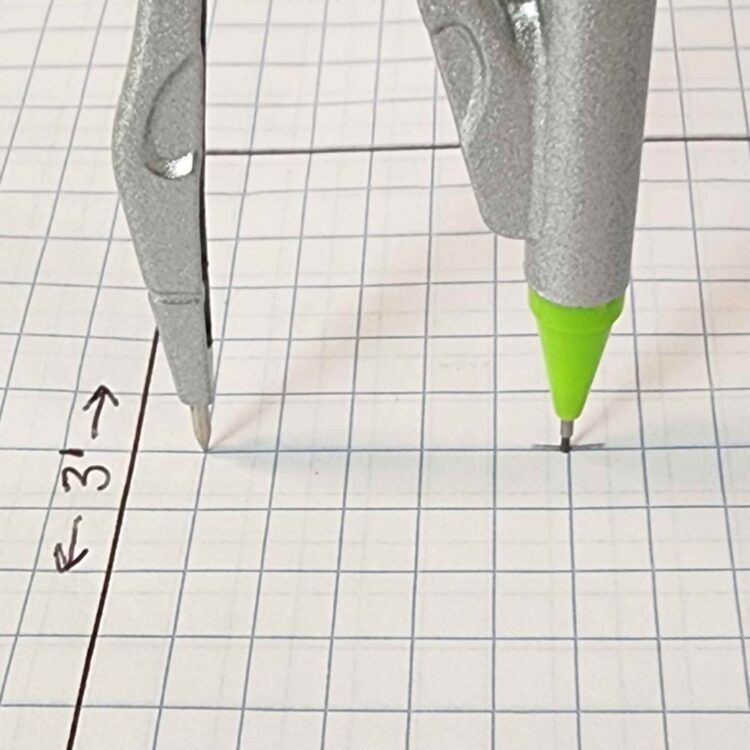
Set your compass to 15″ which is five squares on your graph paper. Set the point and pencil end as shown in the photo below.
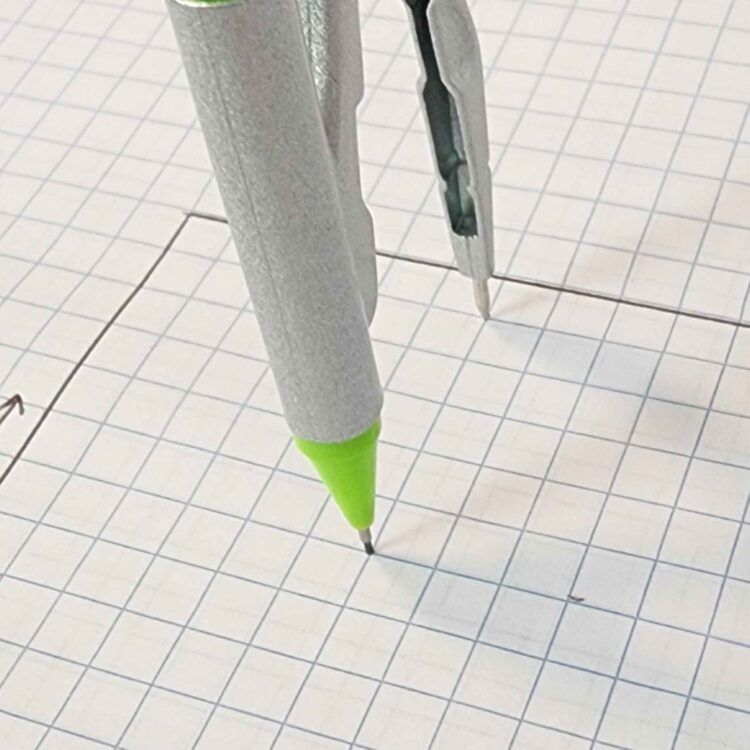
MAKE YOUR FIRST CENTERLINE ARC
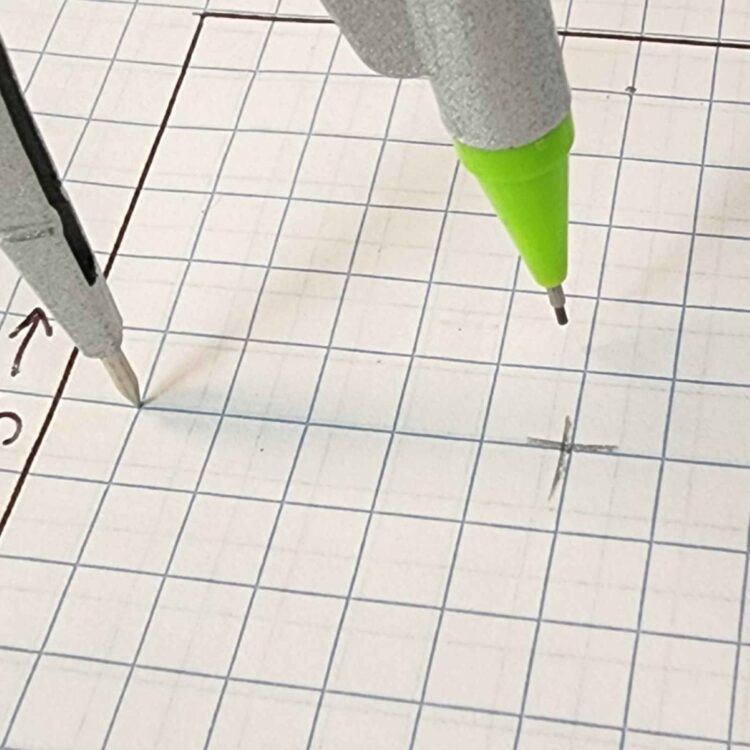
Keep the point of the compass in its original position and swing your compass 90 degrees and make a short arc as shown in the photos below.
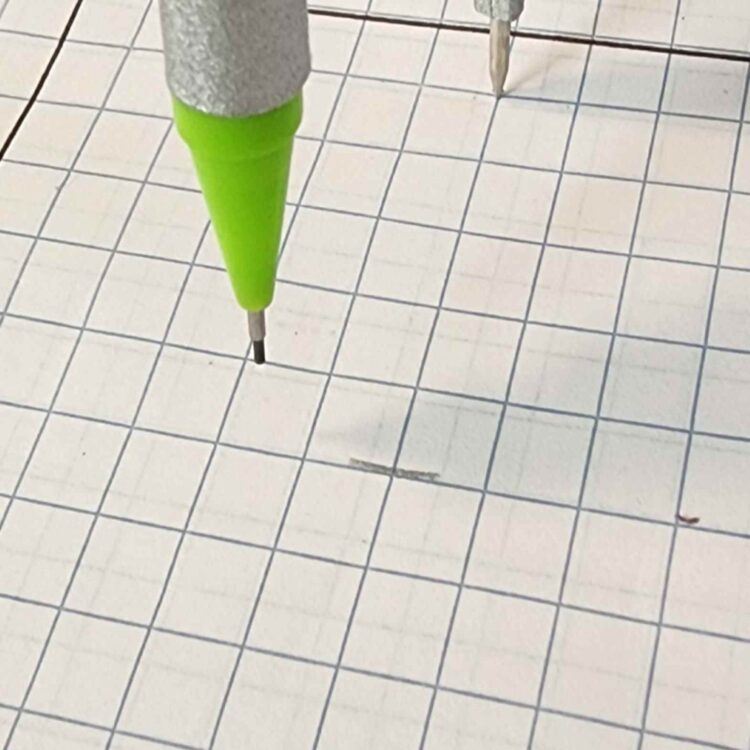
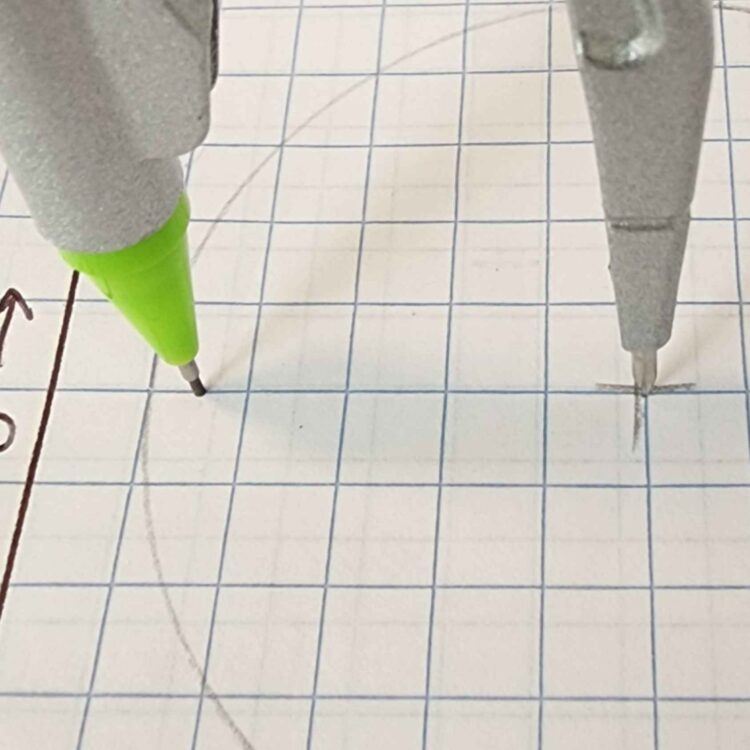
MAKE YOUR SECOND CENTRLINE ARC
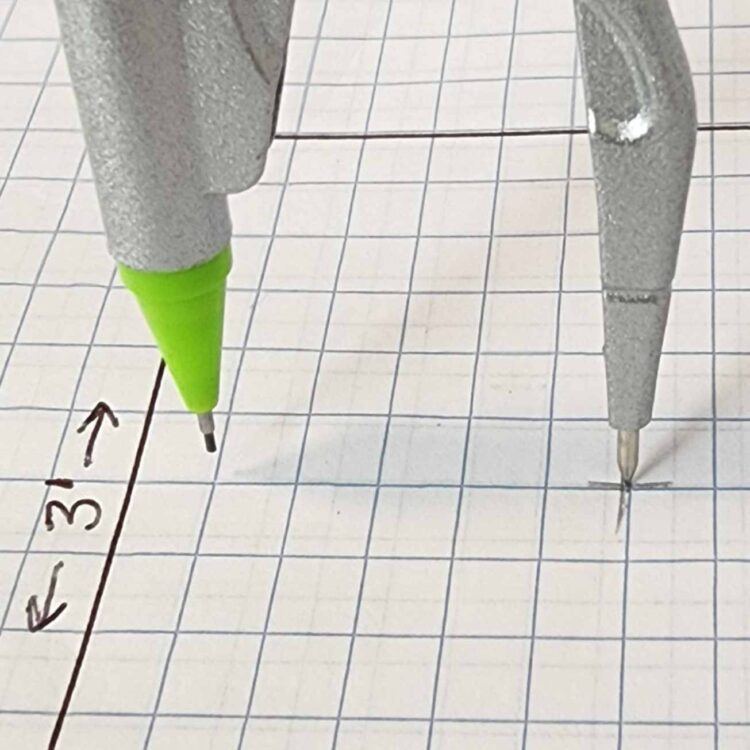
While keeping the pencil on the intersection of the graph paper squares, swing the point to the other side as shown below, set the point end and draw another short arc as shown in the photos below.
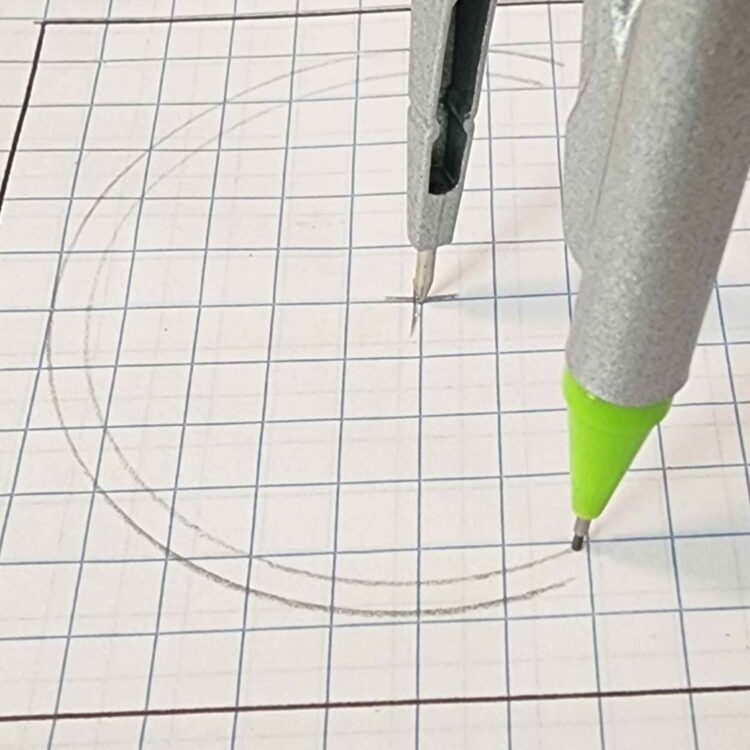
DRAW YOUR CURVE
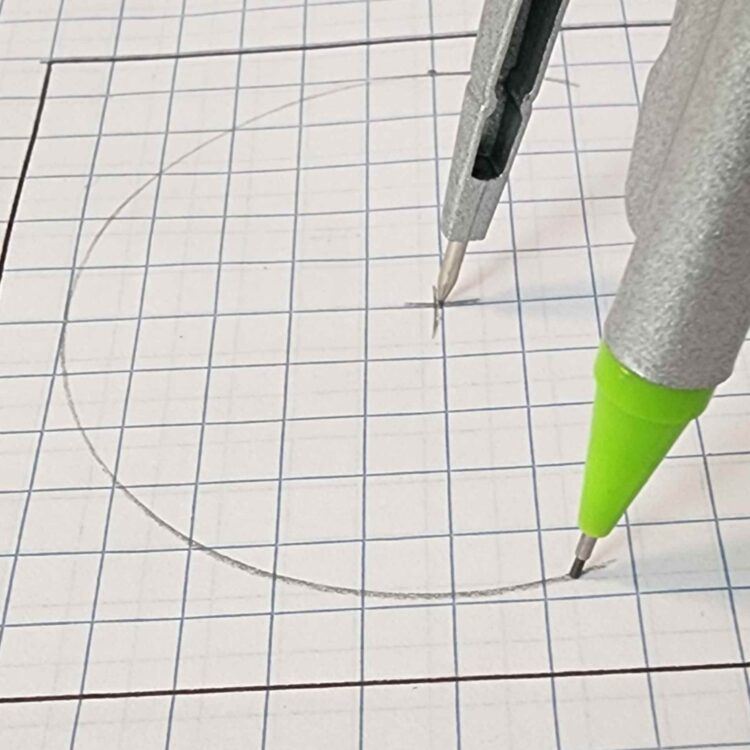
Now reposition your compass point on the two arcs where they intersect and draw your curve as shown below.
DRAW A CONCENTRIC CURVE FOR DOUBLE-TRACK (OPTIONAL)
If you are drawing a double-track curve, then reset your compass one half of a square. This is 1-1/2″ less than your first radius and is perfect for N Scale track spacing. Place the point of the compass in the same location as above and draw your second inner curve as shown below.
Congratulations, you now have two curves of your scale Track Plan drawn, one with a 15″ radius, and one with a 13-1/2″ radius.
Copyright 2026 The Model Railroad Benchwork Store/Model Railway Techniques.com All Rights Reserved
Last Updated on 2 years ago ago by James from Model Railway Techniques