Read time: About 15 minutes
Adding hills and mountains to your Model Railroad will transform that flat barren benchwork or platform into a true miniature landscape for your Model Trains. In this article we will show you step-by-step how to create hills or mountains using extruded polystyrene foam board. The technique is simple and produces very realistic hills and mountains on your Model Railway and can be done by anyone.
WHAT IS EXTRUDED POLYSTYRENE FOAM BOARD?
Extruded polystyrene foam board is a a closed cell, highly dense foam board product that is used extensively in the construction industry for insulation purposes. The two most widely known brands are Owens-Corning Foamular, carried by The Home Depot, and Dupont XPS, available at Lowes. Either of these can be used with the same results. However, neither of these should be confused with white foam board, such as you commonly see in product packaging, because those are open cell and not suitable for our purposes.
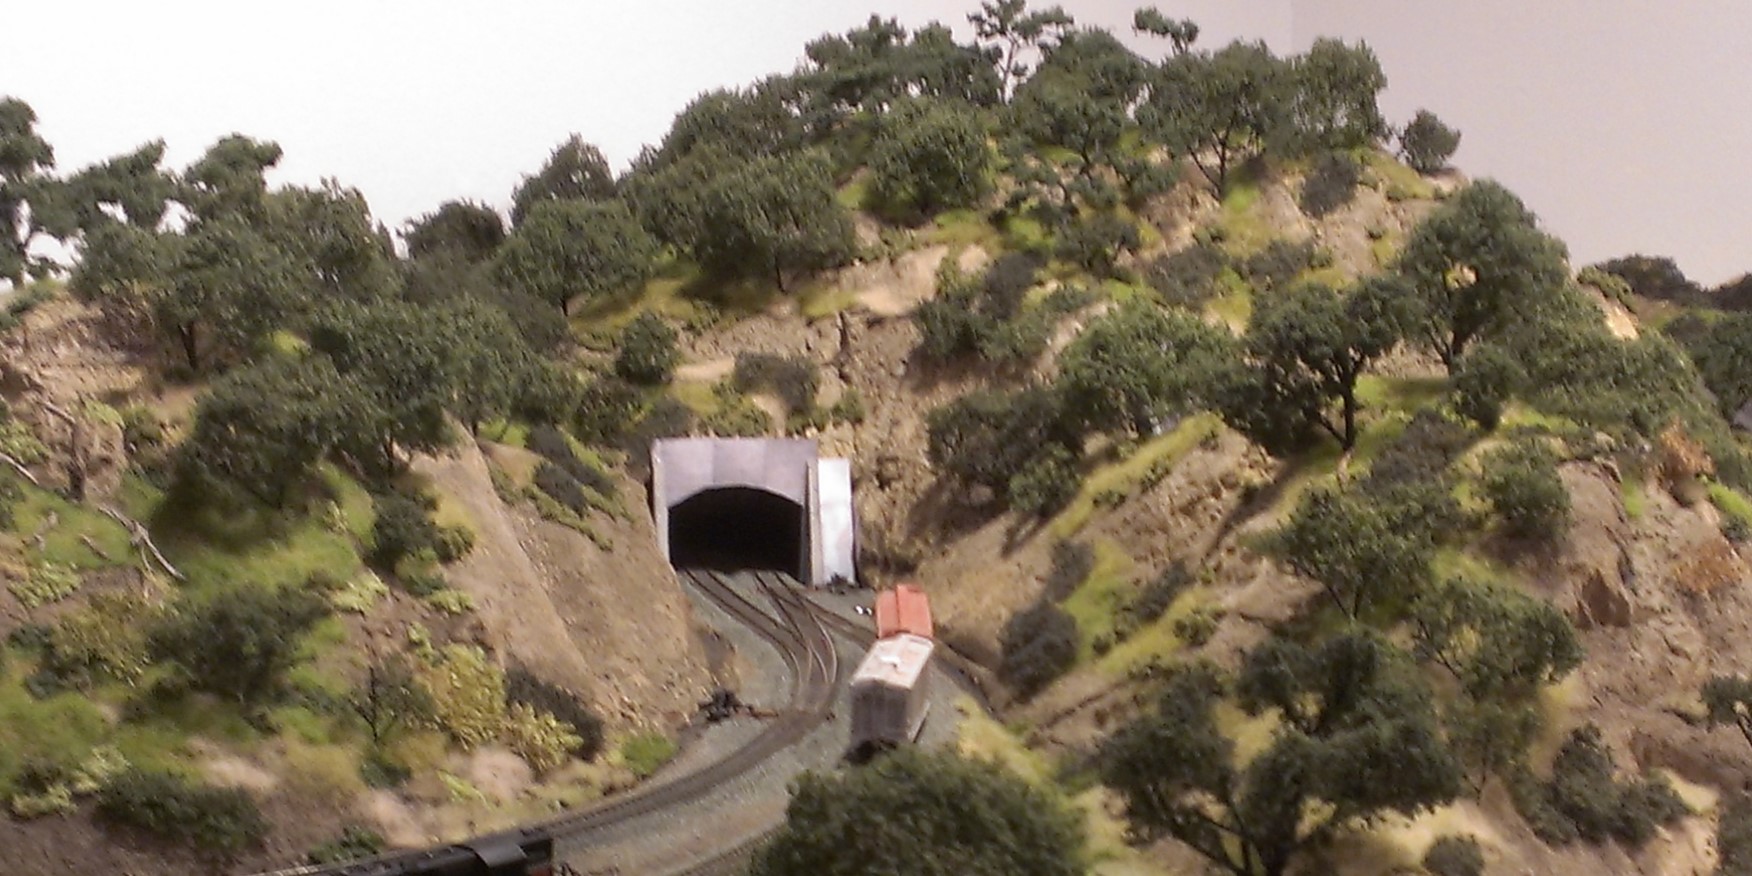
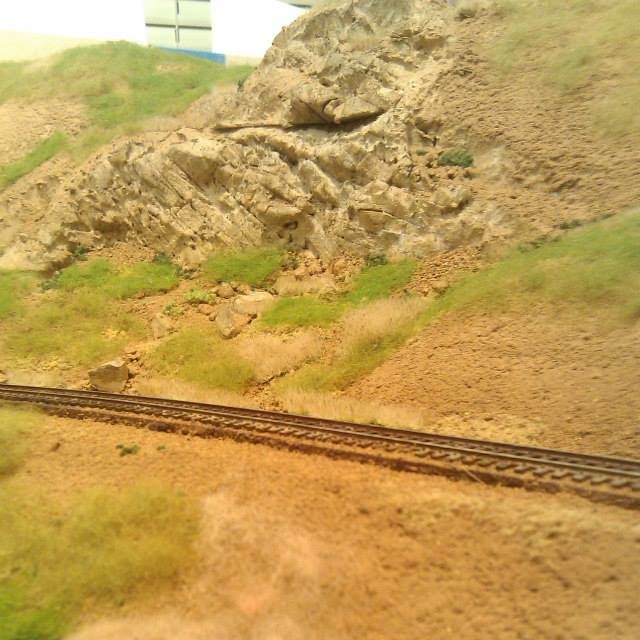
Using foam board has some distinct advantages over the more traditional method of hardshell plaster that most Model Train enthusiasts are familiar with. Foam board offers excellent strength while remaining lightweight, a consideration for those that build portable layouts or may have the need to relocate their Model Railroad. It also offers flexibility in design and can be carved to simulate rock faces as seen in the photos below taken on my N Scale layout. We will be covering in detail how to create rock faces just like these in an upcoming article, so be sure to check back or subscribe to receive automatic notifications.
Another benefit of using foam board for building your Model Railway hills and mountains is the ease of which trees and other similar scenery details can be ‘planted’ into the scenery base. Unlike hardshell, there is a solid base to hold these items securely and straight. Once primed with a cheap latex paint, foam board is an excellent base for any future textures. So, without further delay, let’s build some Model Railroad mountains!
CREATING A MOCKUP
When you are first thinking about how to create your Model Railroad mountain scenery either from pictures, or just a vision in your mind, the best thing you can do is to create a mockup of your idea to see how it will actually look on your Model Train layout. This planning process is crucial in making your vision of your Model Railroad scenery successful and save you time in the long run.
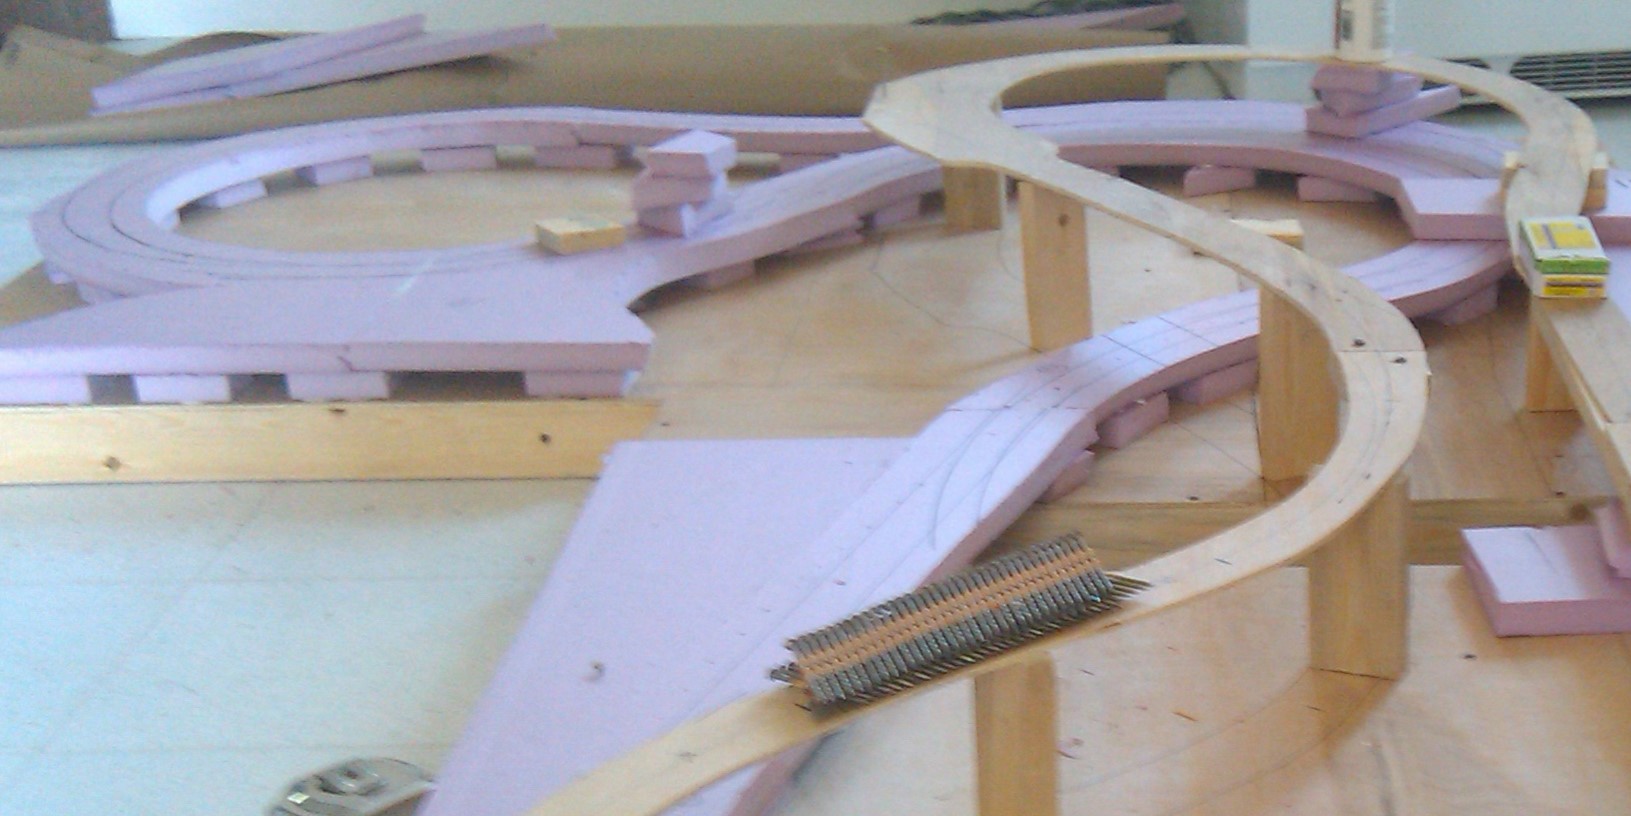
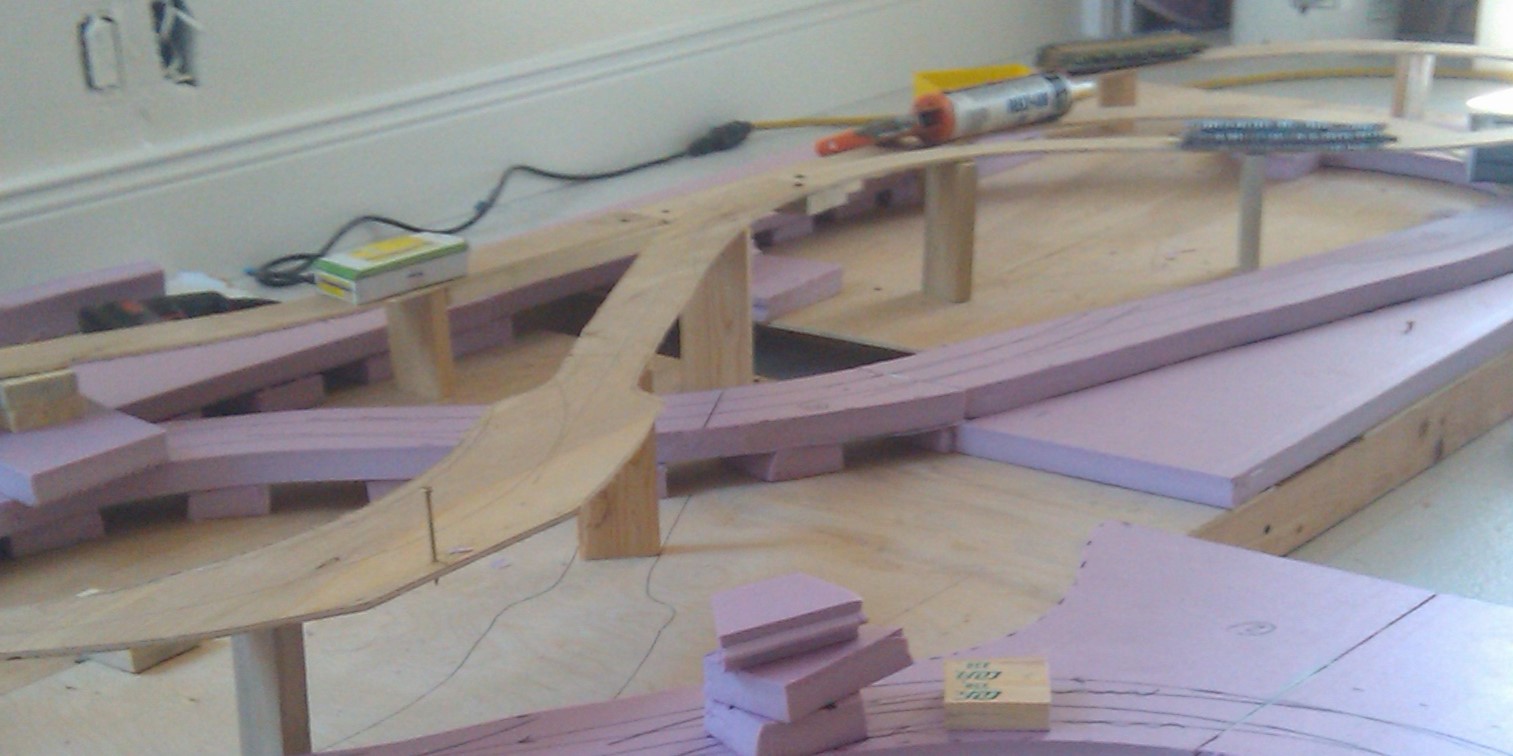
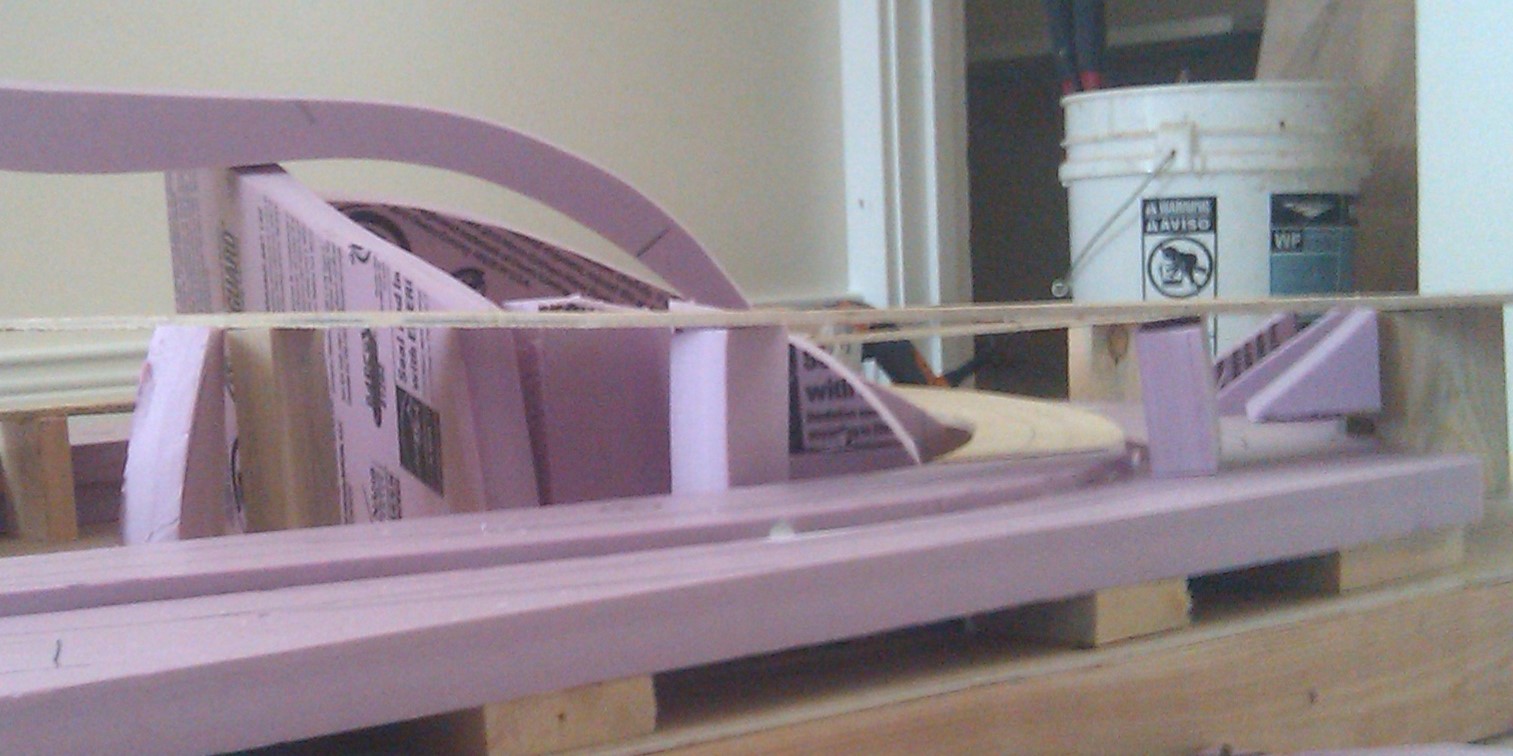
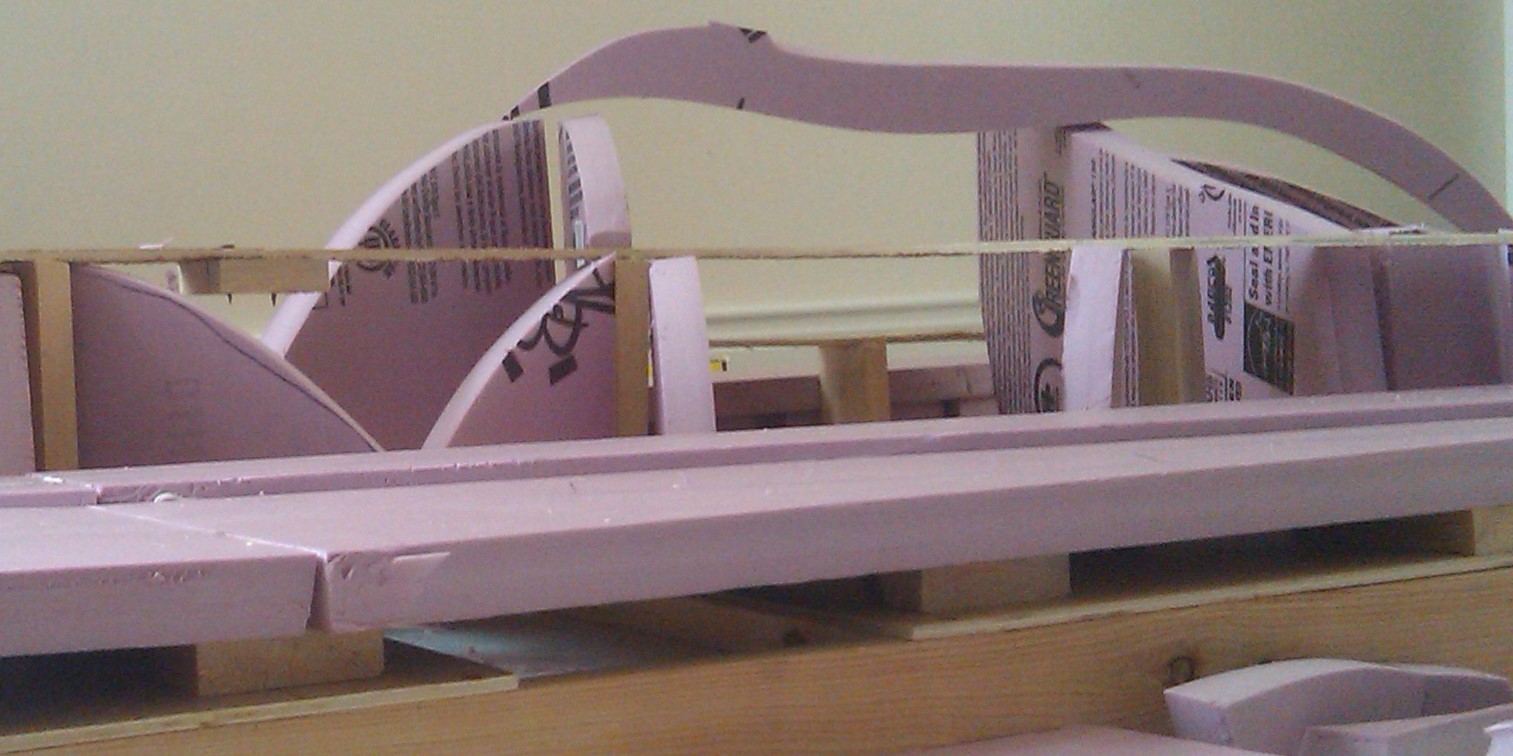
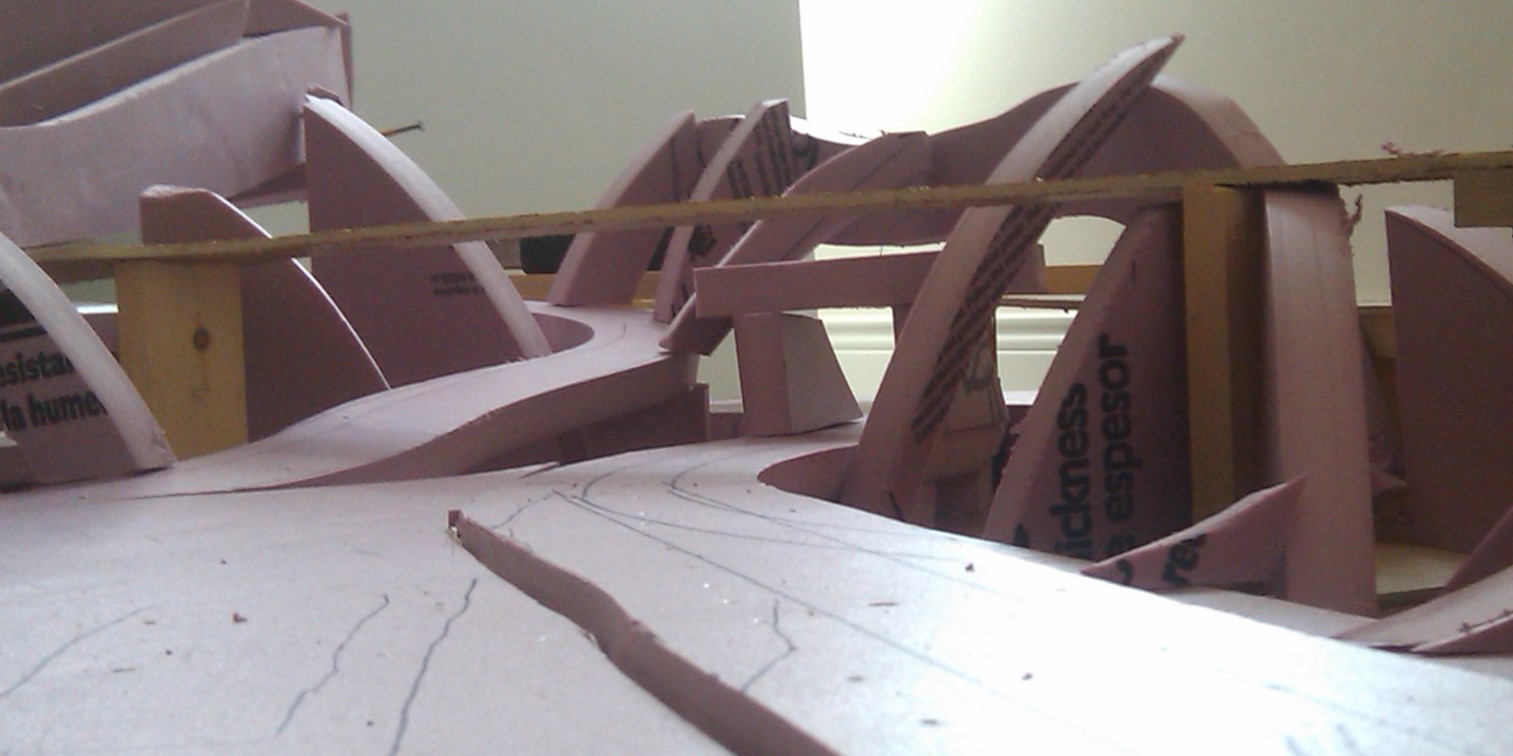
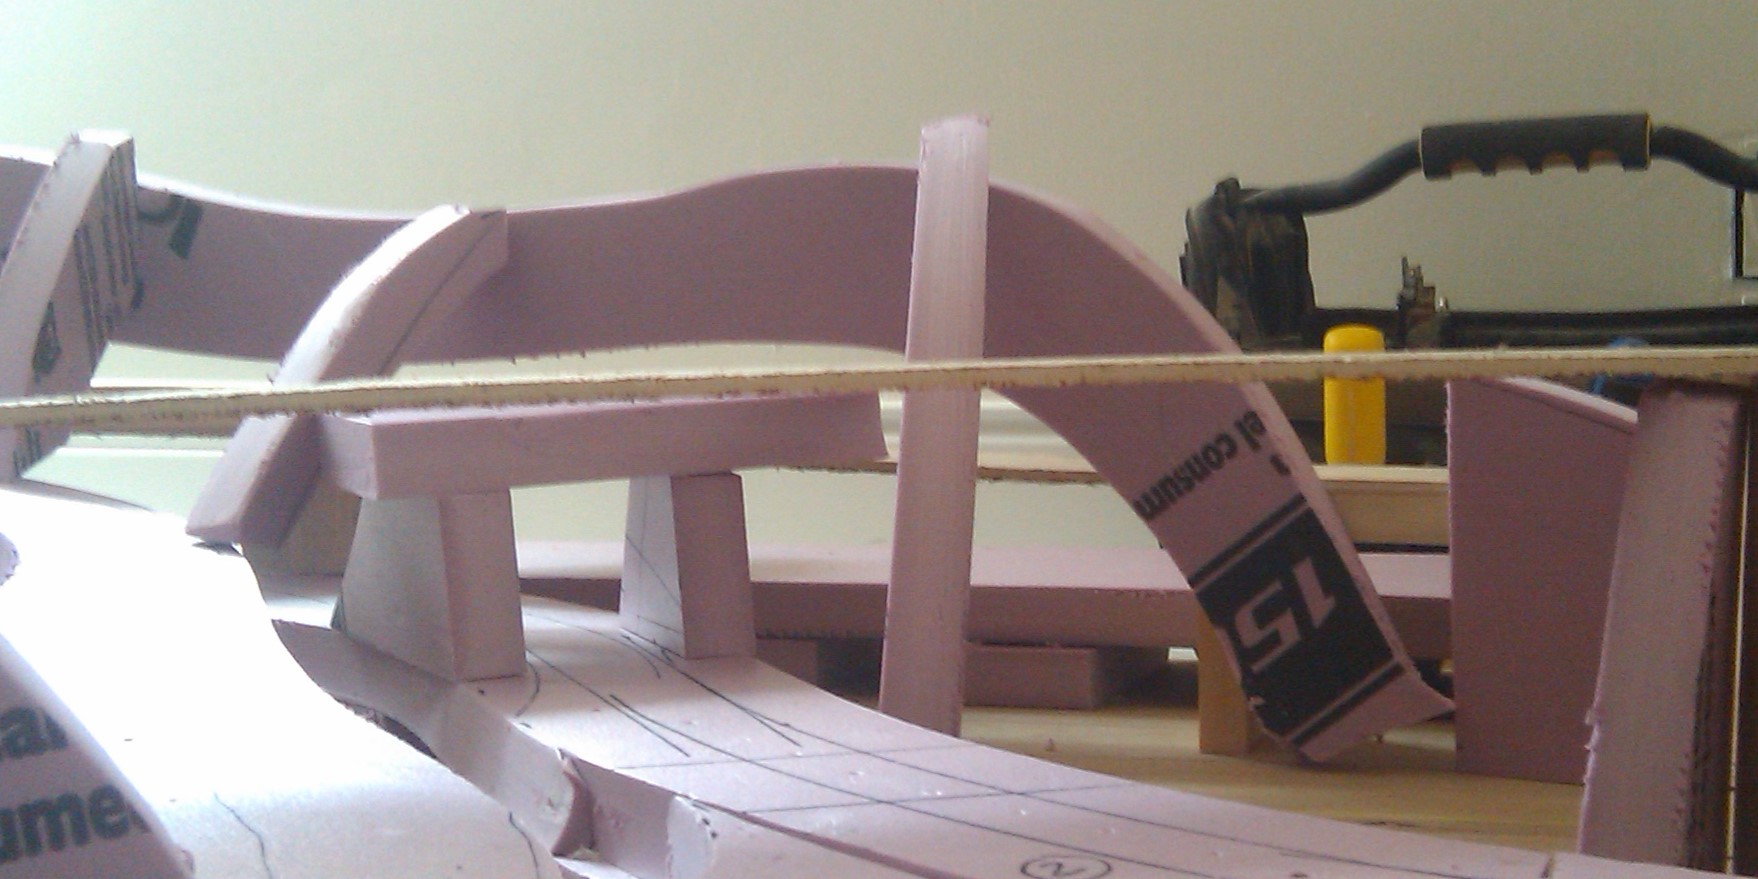
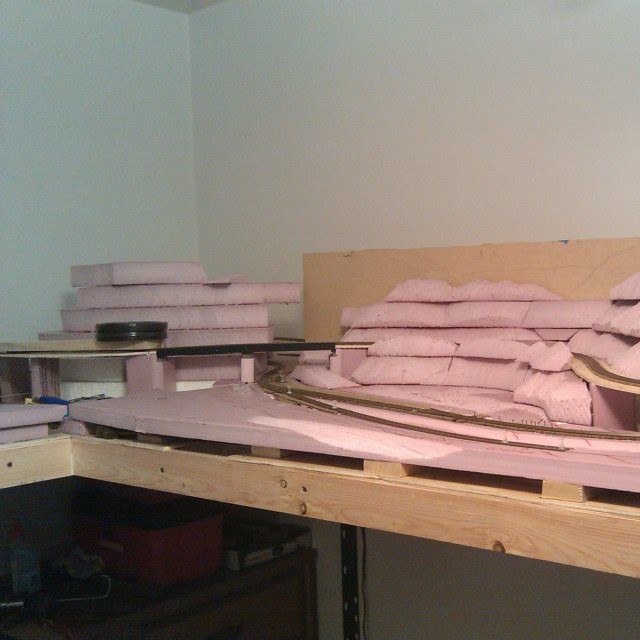
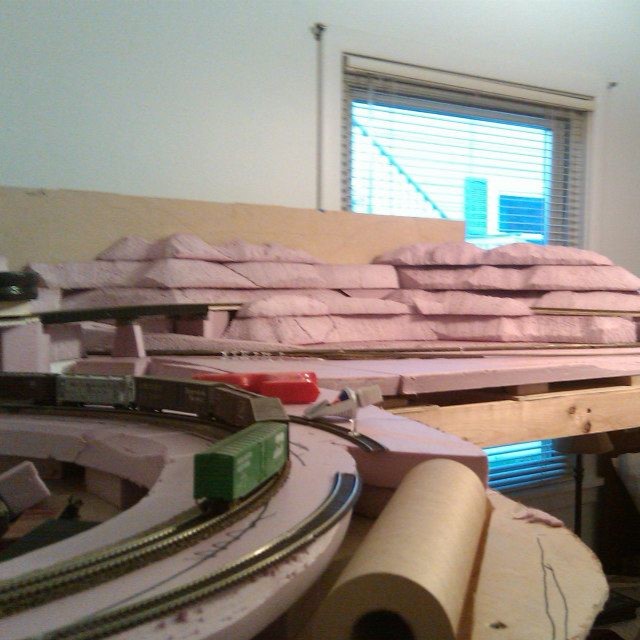
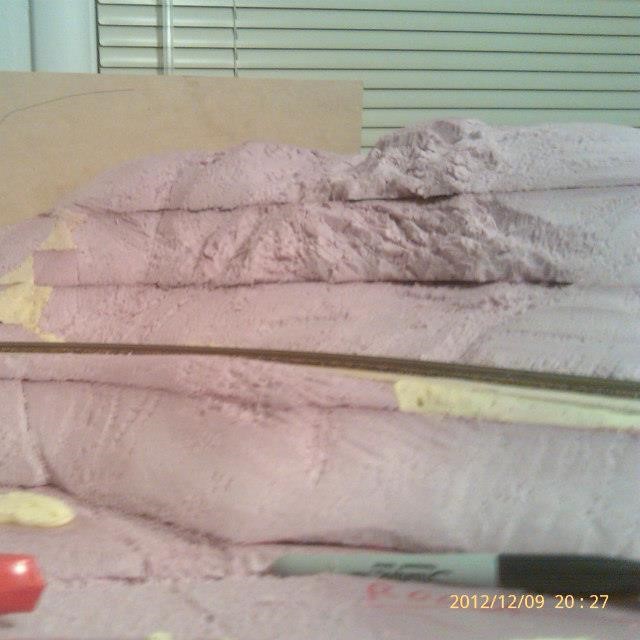
The photos below show my Model Train layout in its initial building stages, and how I used the leftover pieces of foam board to get a general idea of how I wanted my hills and mountains to look. These were just the unaltered scraps, the main intent was to get an idea of the scale of the mountains compared to the overall layout size. Another method for creating a mockup of your Model Railway scenery ideas would be to use crumpled up brown paper that you can get from your dollar store, or newspapers, and using masking tape to hold their general forms.
By creating this mockup, you will have a definite visual of how your Model Trains will appear against your hills and mountains, and you can make adjustment prior to constructing the final landforms themselves. It is also useful to take pictures of your mockup with either a ruler or tape measure for use as a reference later. Your memory alone is not sufficient, and we highly recommend this step.
STACKING THE LAYERS
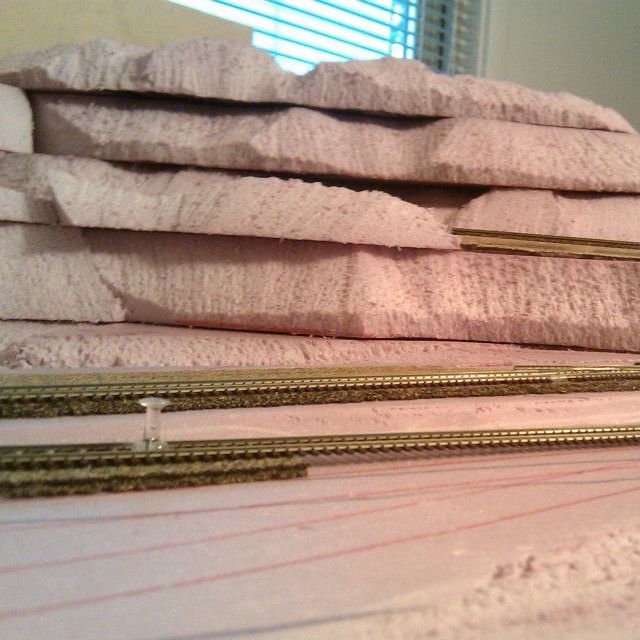
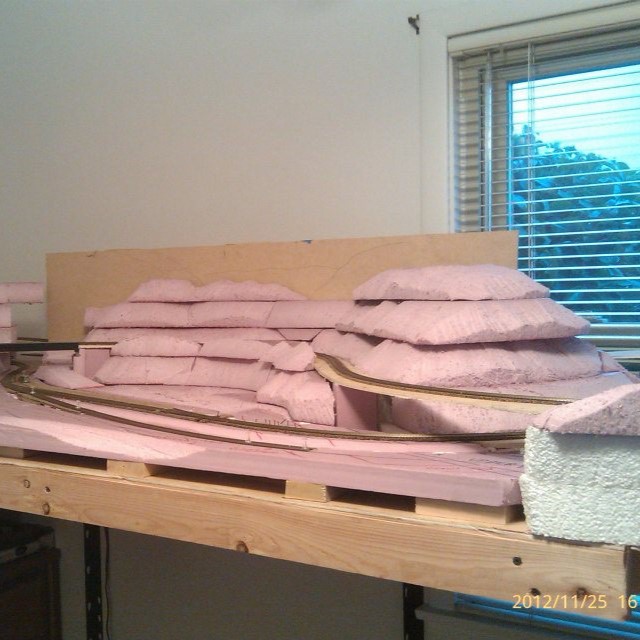
Once you are satisfied with your mockup for your Model Railroad mountains, the next step is stacking the layers of foam board. The method is generally referred to as the ‘wedding cake’ or tiered method, where each successive layer is incrementally smaller than the previous one, creating the sloping effect of real hills and mountains.
During this phase you don’t have to be exact on the actual slope, and the shape of each successive layer doesn’t necessarily have to match that of the one below exactly as some suggest. You will make refinements in the next step as you carve and shape your mountains for your model railway, and by intentionally creating a more random stacking method it allows for rock outcropping and other features.
The thickness of the foam layers you use will largely depend on the overall height of your Model Railway mountains, but you should try to use the thickest foam board available to minimize the horizontal joints between layers. In the pictures below of my N Scale model railroad, I used a combination of two-inch and three-inch foam sheets, and also leftover one-inch-thick pieces from the initial phase shown above. Cutting the foam can easily be done using a jab saw for thicker pieces, or a snap-off knife for one-inch or less. The foam board will dull the knife blades quickly, so make sure you buy extras.
If you are creating rolling hills or gentle mountains for your model railway, then each layer should be smaller than the previous one by approximately the thickness of your foam layer. This will allow you to taper the mountain sides by about 45 degrees or less. See the photo sketch below for an example.
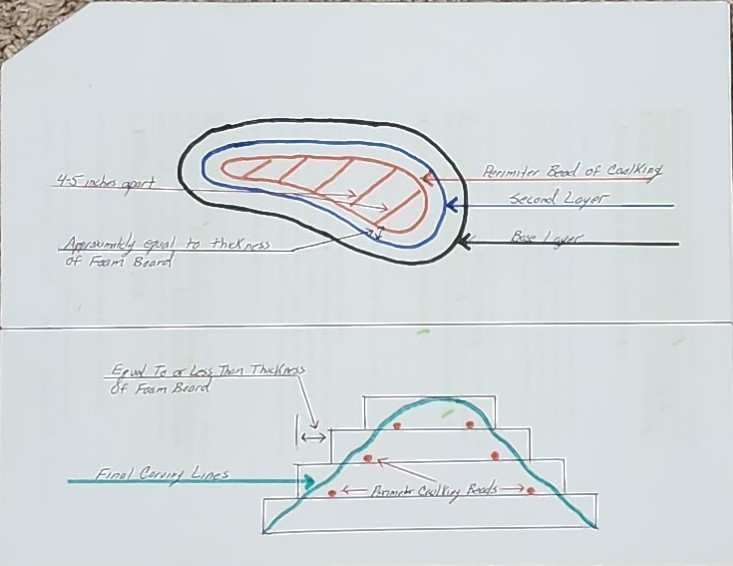
The sketch above also shows where the caulking bead should be placed. If it is too close to the edge, you will end up cutting it off when you begin initial carving below. If you plan on making more vertical rock faces, then the different layers of foam would be only slightly less, or even equal to the layer below.
Special consideration must be used when gluing the foam sheets to one-another, you never want to use common construction adhesives such as liquid nails or similar since they contain solvents that will melt and eat the foam. You also shouldn’t use white glue or wood glue, since these types of glues create their bond by evaporation, and the density of the foam board will prevent this, leaving you with uncured joints and bonding failure.
We recommend using acrylic latex caulking which is one-third to half the price of specialty adhesives specifically made for foam that you will see so often recommended. It is more than adequate and will not attack the foam and melt it. The only time specialty foam board adhesive is necessary is when you are attaching full sheets to an Open Grid Framework.
Using the 10 oz. tubes and an ordinary caulking gun, apply about a one-half inch wide bead to the first layer in the approximate pattern above and then press the next one down onto it. A slight back-and-forth twisting action as you press down will thin the bead and create a solid joint. Weighting down is also critical until the caulking has set, usually about an hour depending on temperature and humidity.
INITIAL CARVING AND SHAPING
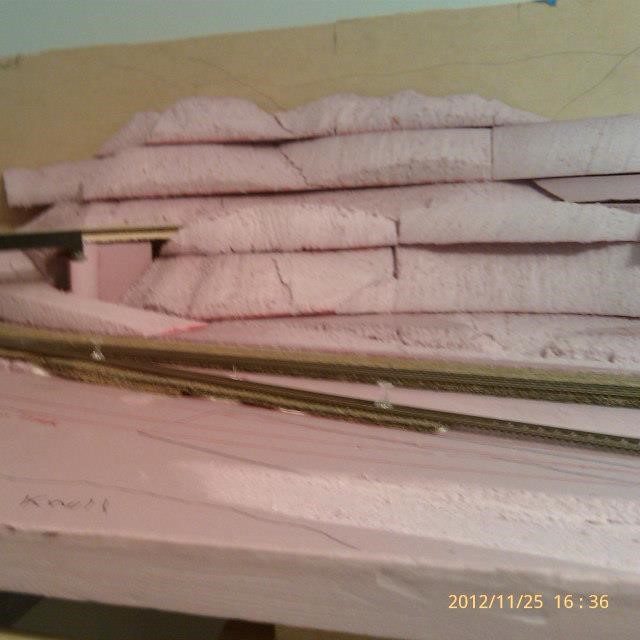
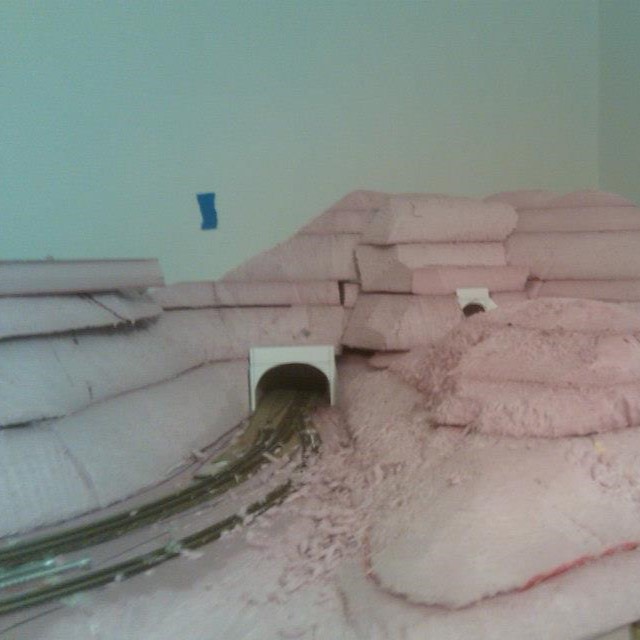
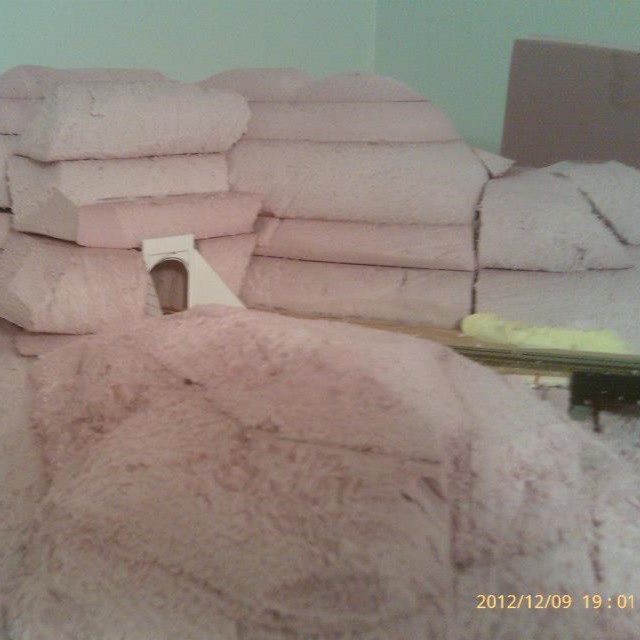
After your foam layers have been glued together using the latex caulk and everything has set-up, it’s time to start doing the initial carving and shaping of your Model Railway mountains. This process involves cutting away the sharp corners of the different layers and tapering them into one another to create the desired slope you are looking for.
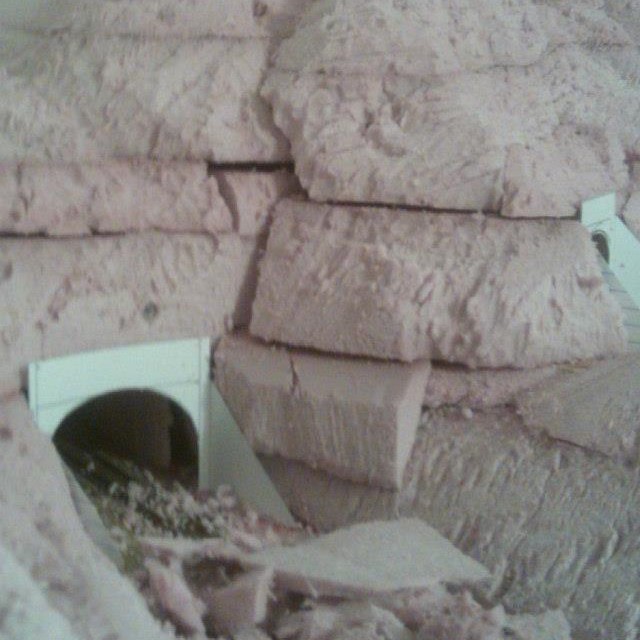
I generally start from the top and work down, cutting the upper edge at an angle to meet with the bottom. The sketch above and the photos below show this. Your jab saw is an excellent tool for this and will make the work go quickly. As you are tapering you can also cut in deeper, creating natural variations along the horizontal face. The goal here is to create that continuous sloping face between the different layers.
Depending on what type of Model Railway scenery you are recreating, the slope can be gradual, simulating a rolling hill, or more vertical as is the case with rock faces. For fills under the roadbed, or cuts through mainly earth, you should strive for about a 30-40 degree angle, which is referred to as the natural angle of repose. This will make your Model Railroad scenery more realistic in appearance.
As stated above, this is only the initial carving and shaping, don’t be overly concerned with the final slope characteristics at this point. Focus on the general shape of your mountains and hills, not the details. Once you have completed this phase I recommend you pause for a day or two and study your contours and make any changes in preparation for the next phase: Final shaping and refinements.
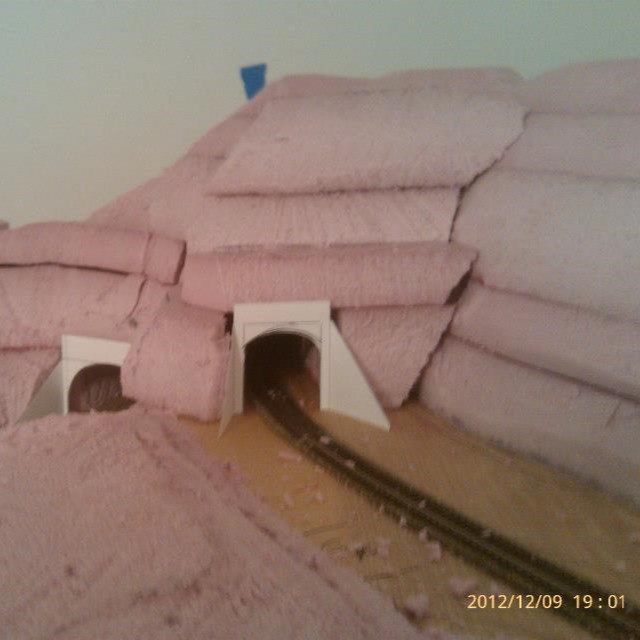
FINAL SHAPING AND REFINEMENTS
The final phase of creating your Model Railway mountain scenery is the final shaping and refinements of the general shapes you created beforehand. At this stage you should begin thinking of some finer details such as rain-washed gullies, areas where natural rock outcroppings would occur, and adding undulations to your hills and mountains. There are very few instances in real life where the topography is smooth, and more often than not that impression is given by viewing hills and mountains from afar.
It is also a great idea to reference photos during this process to give you ideas to work from. A quick day trip with a camera or your cell phone can yield a wealth of photo references for you to use, or you can research photos from the internet or here.
As you begin carving your model railroad mountains, utilizing different tools will achieve different effects on the foam board. A small rasp like this is useful for carving gouges into your scenery, and an old fine serrated steak knife can produce smoother cuts than those of your jab saw and also give you more control. You will find that as you experiment with these different tools, each one leaves a unique pattern and texture in the foam board, often realistically creating differing forms of rocks or earth textures.
Scraping the foam with the side of a knife or even a steel putty knife will cause the foam to chip in a manner that simulates jagged rock faces, and I use that technique often. Scraping either vertically or horizontally changes the way the foam chips and creates further variety. A utility knife can be used to create flat long vertical or horizontal rock faces similar to common slate rock formations.
40 grit sandpaper is also useful for creating small nooks and crannies, recreating shale or sedimentary rock formations, or just general smoothing out of a rough surface. I’ve even used a small stiff bristled wire brush to make rockwork that resembles igneous or metamorphic rock faces. The key is to experiment as you go along and not be afraid to try a new technique nor get hung up on someone else’s. Building realistic model railroad scenery should be a part of your vision and unique to yourself.
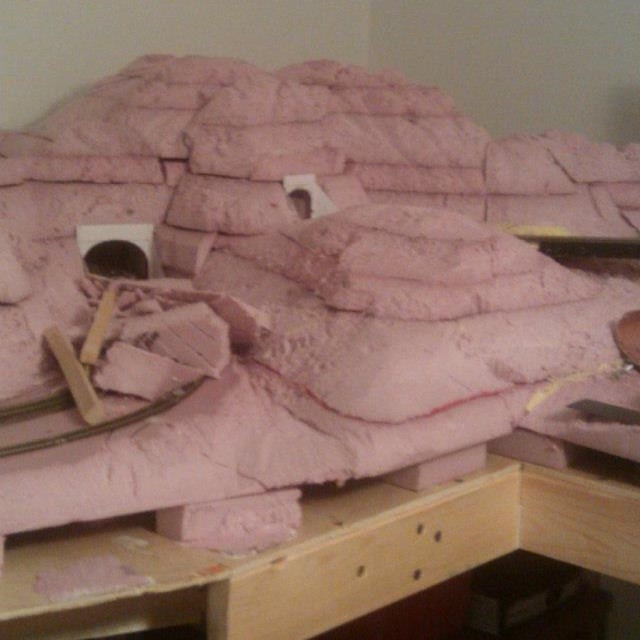
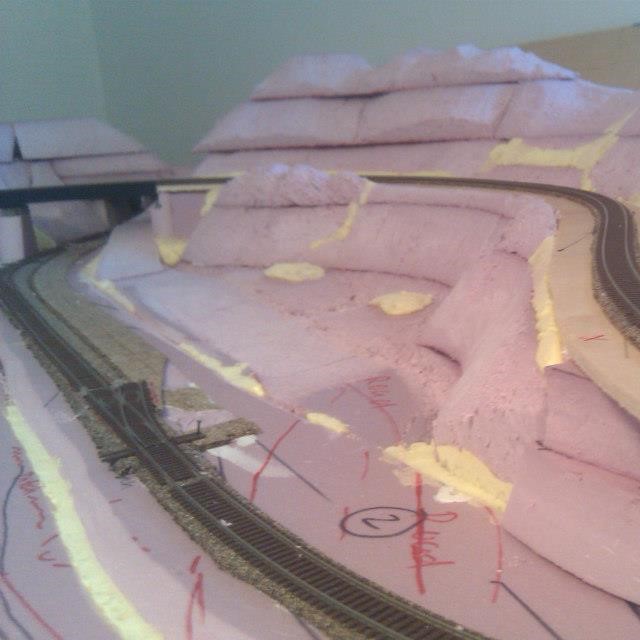
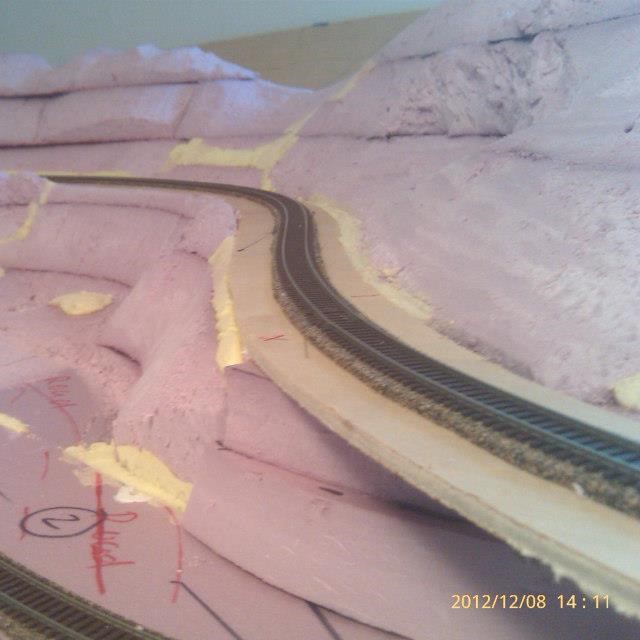
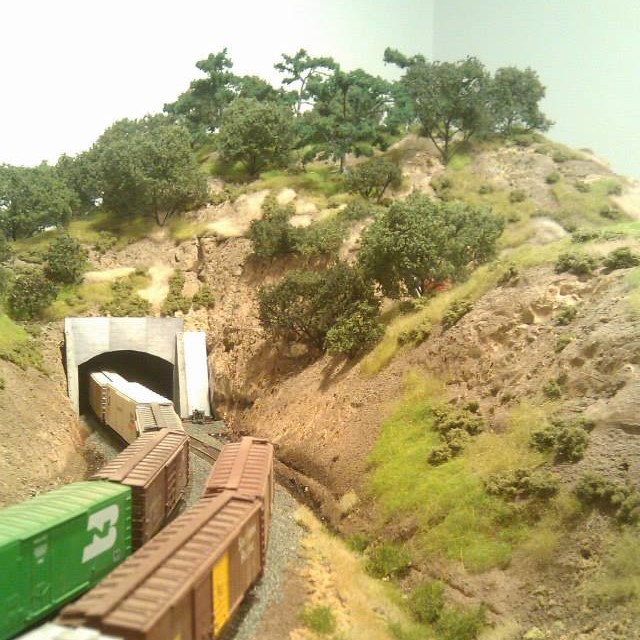
As you can see from the text and photos above, building realistic Model Railroad scenery is a fairly straight-forward process. Planning ahead with the use of mockups, using photo reference material, and doing a little bit of research at the beginning will all contribute to your success and fun.
Developing your own personal techniques as you progress along with building your Model Train scenery instead of trying to duplicate exactly what others do will also make the process more enjoyable and reflect your inner artist. It is this personal touch that will set your Model Train layout apart from all the rest, bring you years of enjoyment, and truly fulfill you as you create your own miniature world.
Our next article will show you how to prepare your foam hills and mountains for the next step, painting and adding initial textures. We will cover the basic base primer, coloring your rocks, and laying down the first layer of your scenic base for future additional layers. We hope to see you back!
Copyright 2025 The Model Railroad Benchwork Store/Model Railway Techniques.com All Rights Reserved
If you have any questions or comments regarding this article drop a comment down below and we’ll respond back to you.
Also, please share and click the subscribe button in the bottom right corner to receive automatic updates of new posts. Your email is confidential and will NOT be shared or redistributed.
James, Model Railway Techniques.com
Last Updated on 2 years ago ago by James from Model Railway Techniques
