If you’re asking “Plywood vs Foam for a Model Railroad Layout: Which Surface Is Best?” you’re not alone. Two of the most popular choices for a layout top (also called the layout surface or subroadbed) are plywood and extruded polystyrene (XPS) foam board. Both can produce excellent results—but they behave very differently when it comes to weight, tools, track fastening, wiring, switch machines, and scenery.
This guide breaks down the advantages and disadvantages of plywood vs foam, then gives you a quick checklist and simple how-to tips so you can choose the best base for your model railroad layout.
Quick Answer: Plywood or Foam?
- Choose plywood if you want a rigid, strong tabletop surface that holds track nails/spikes and makes under-table switch machine mounting easier.
- Choose foam (XPS insulation board) if you want the lightest layout top and want to carve scenery below track level (ditches, streams, drainage features, etc.).
- Choose a hybrid (plywood + foam) if you want plywood strength plus foam’s easy scenery carving.
Plywood Top: Pros and Cons
Advantages of Plywood for a Model Railroad
- Strong and rigid: Great for larger layouts and long spans when supported by solid benchwork.
- Holds nails and screws: Works well if you like to fasten track with track nails/spikes (or if you want the option to adjust track more easily).
- Easy under-table mounting: Provides a firm base for under-table turnout switch machines and other accessories.
- Common and affordable: Widely available and typically lower cost than thicker foam options.
Disadvantages of Plywood for a Model Railroad
- Heavy: A typical 1/2″ 4′ x 8′ sheet weighs about 40 lbs. This matters for portable or modular layouts.
- Requires power tools: Typically needs a circular saw or jigsaw for cutting and a drill for wiring holes. Sawdust can be a problem indoors.
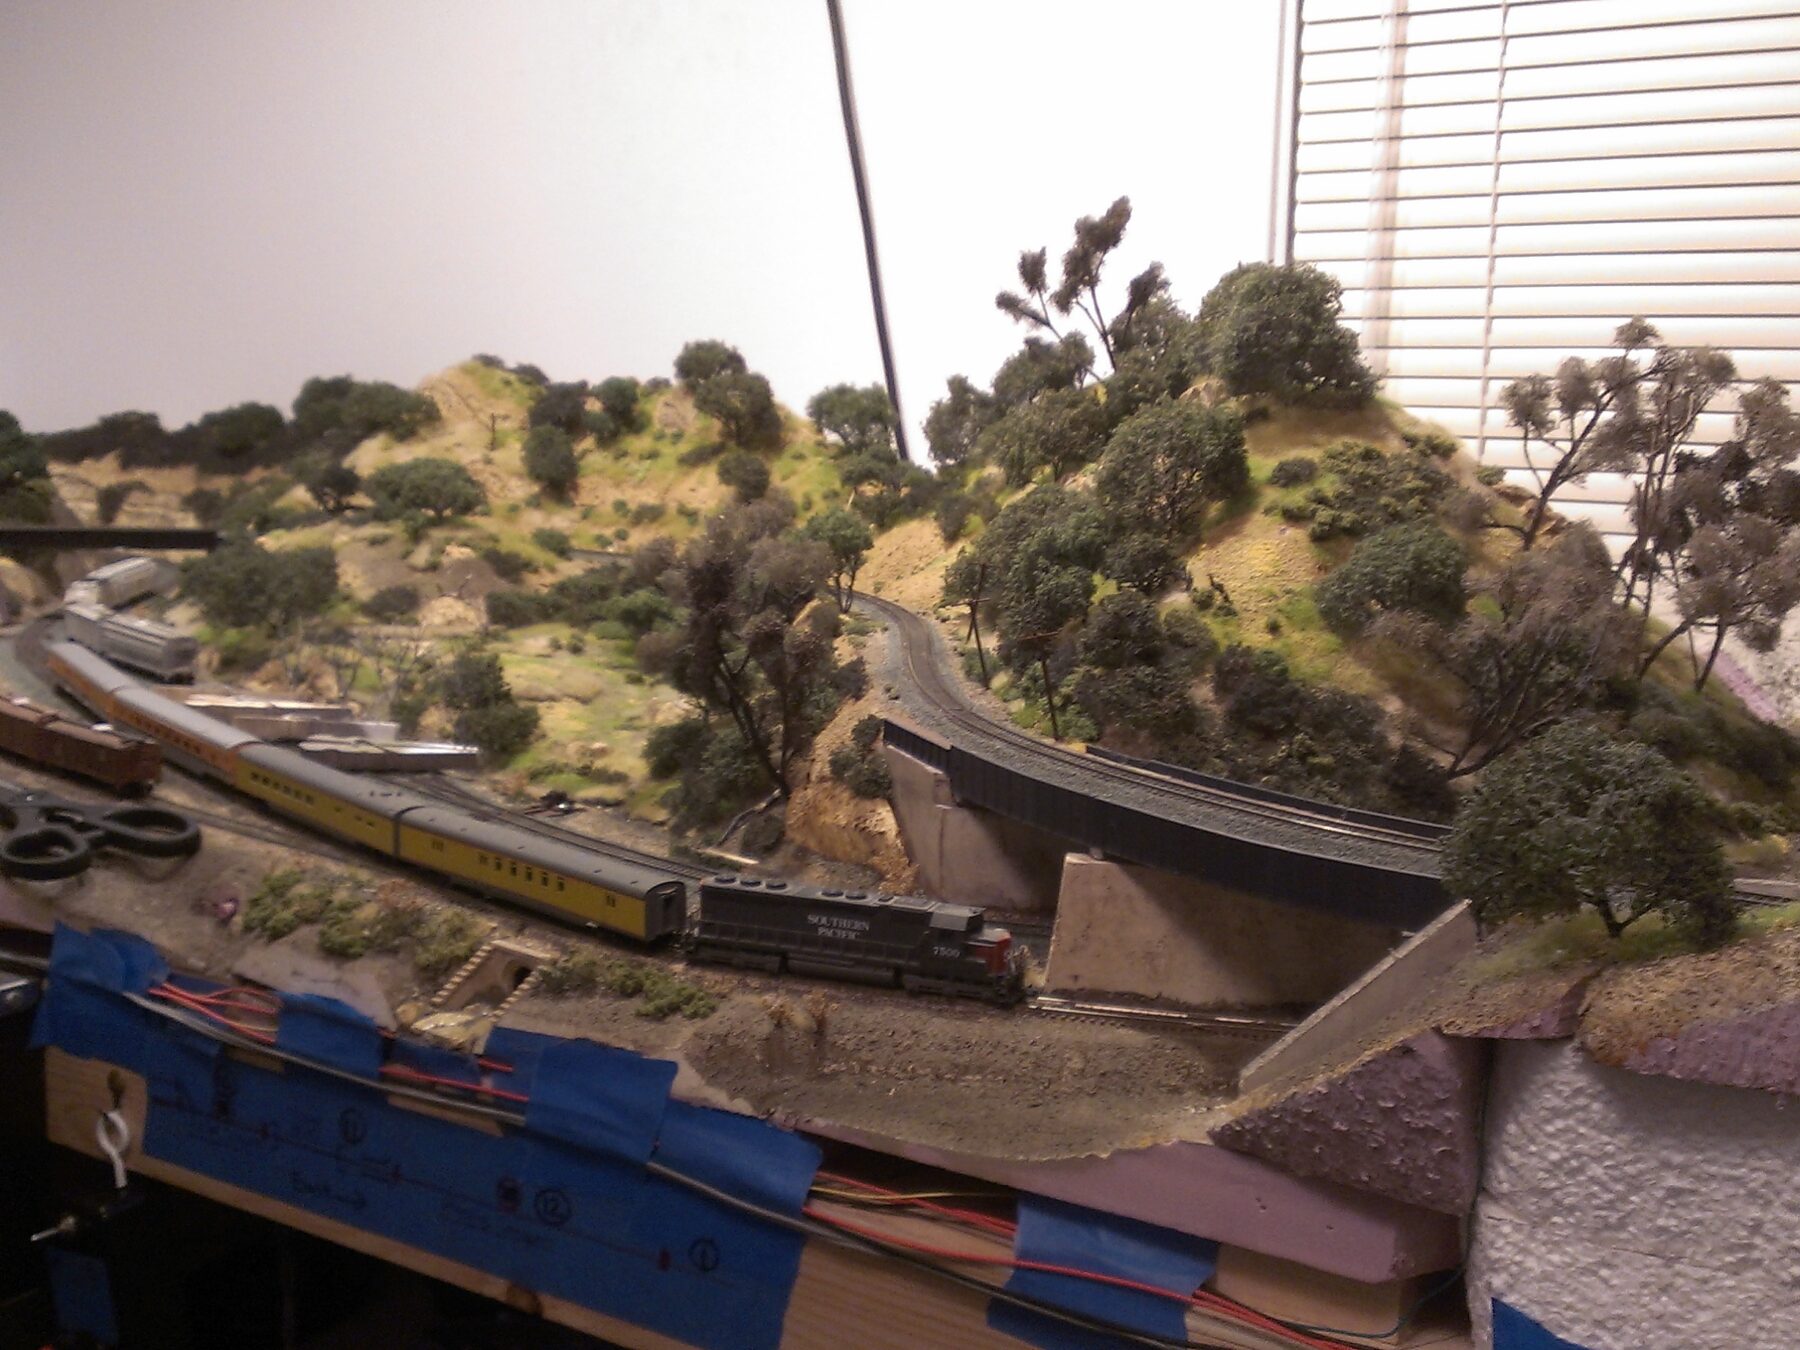
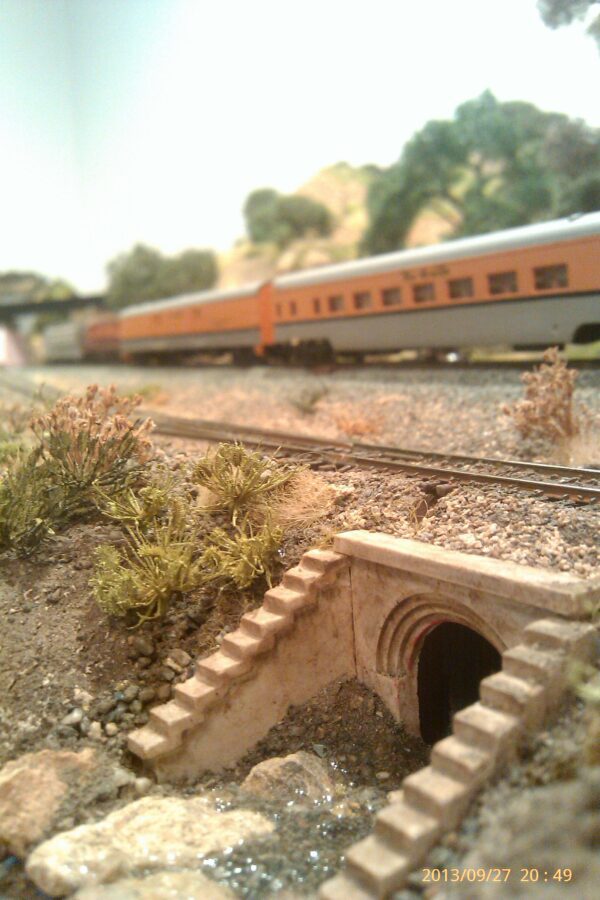
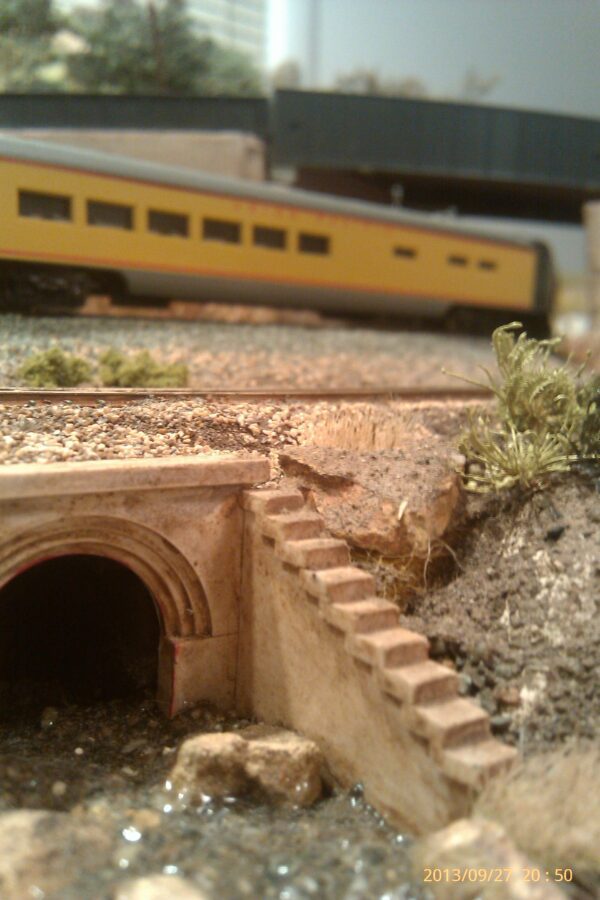
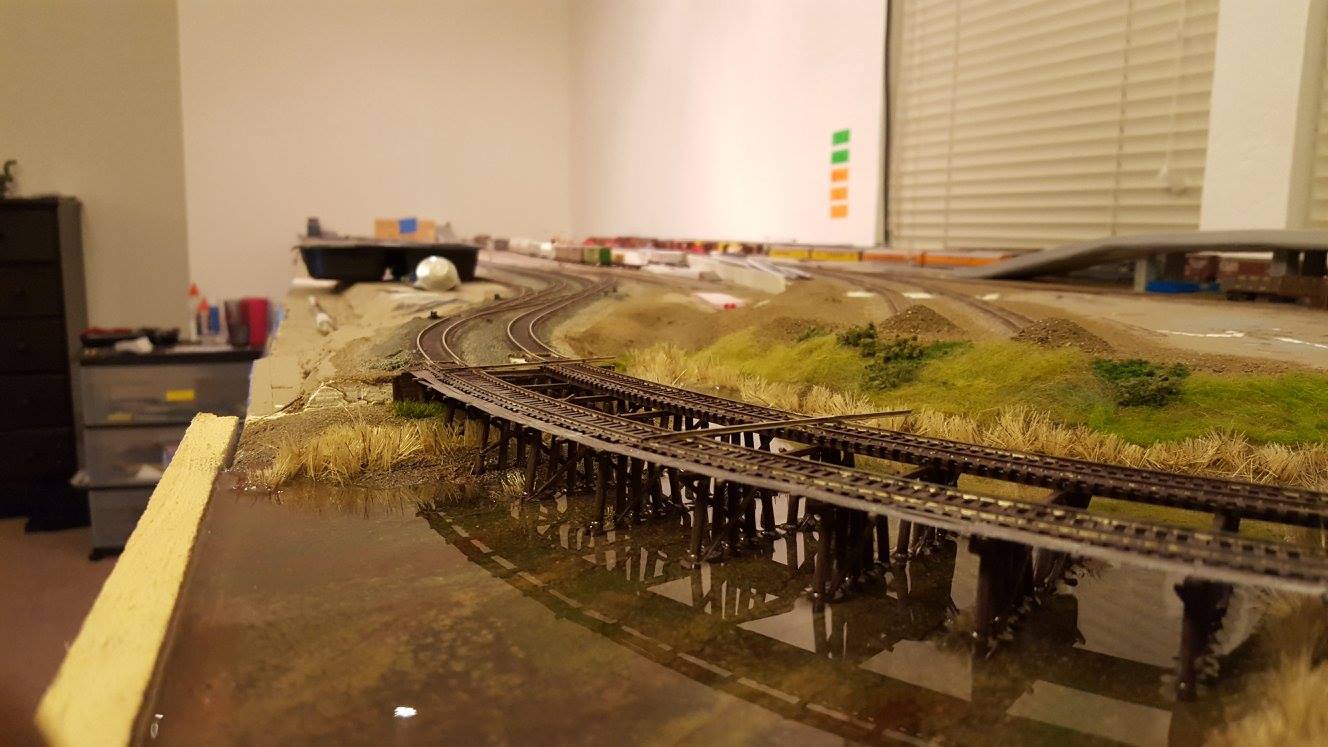
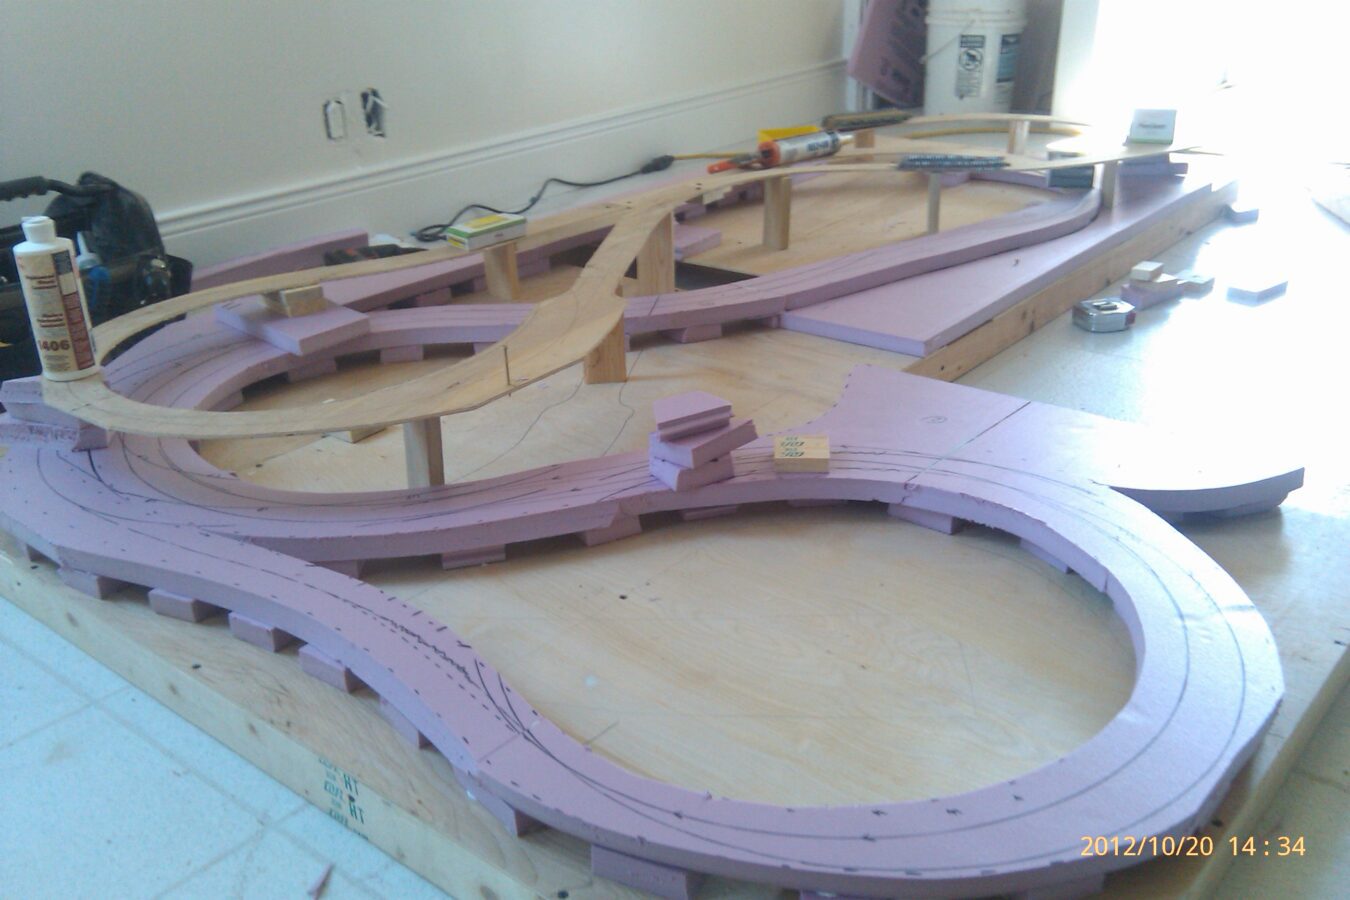
- Below-track scenery is harder: Streams/ditches below the surface usually require the cookie-cutter method and risers, or cut-away sections—often limited by crossmember spacing.
Foam Board (XPS) Top: Pros and Cons
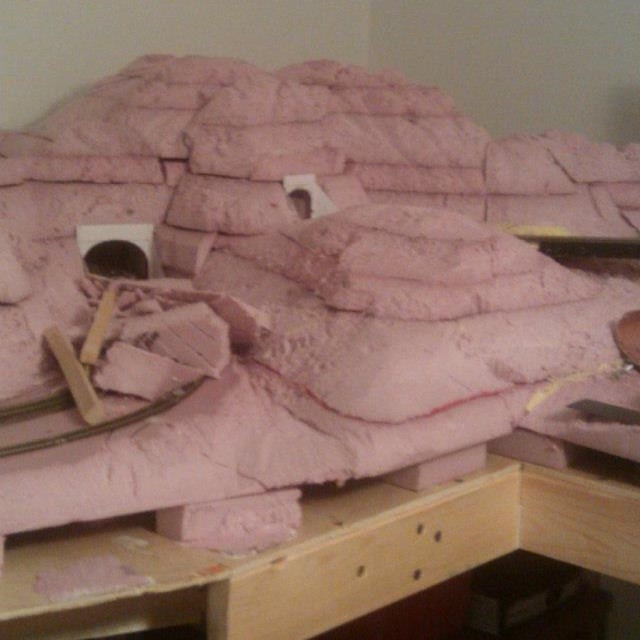
When hobbyists say “foam,” they usually mean XPS (Extruded Polystyrene) foam insulation board—commonly sold in 1″ or 2″ thickness depending on your area.
Advantages of Foam for a Model Railroad
- Very lightweight: Huge weight savings compared to plywood—ideal for portable, modular, or apartment layouts.
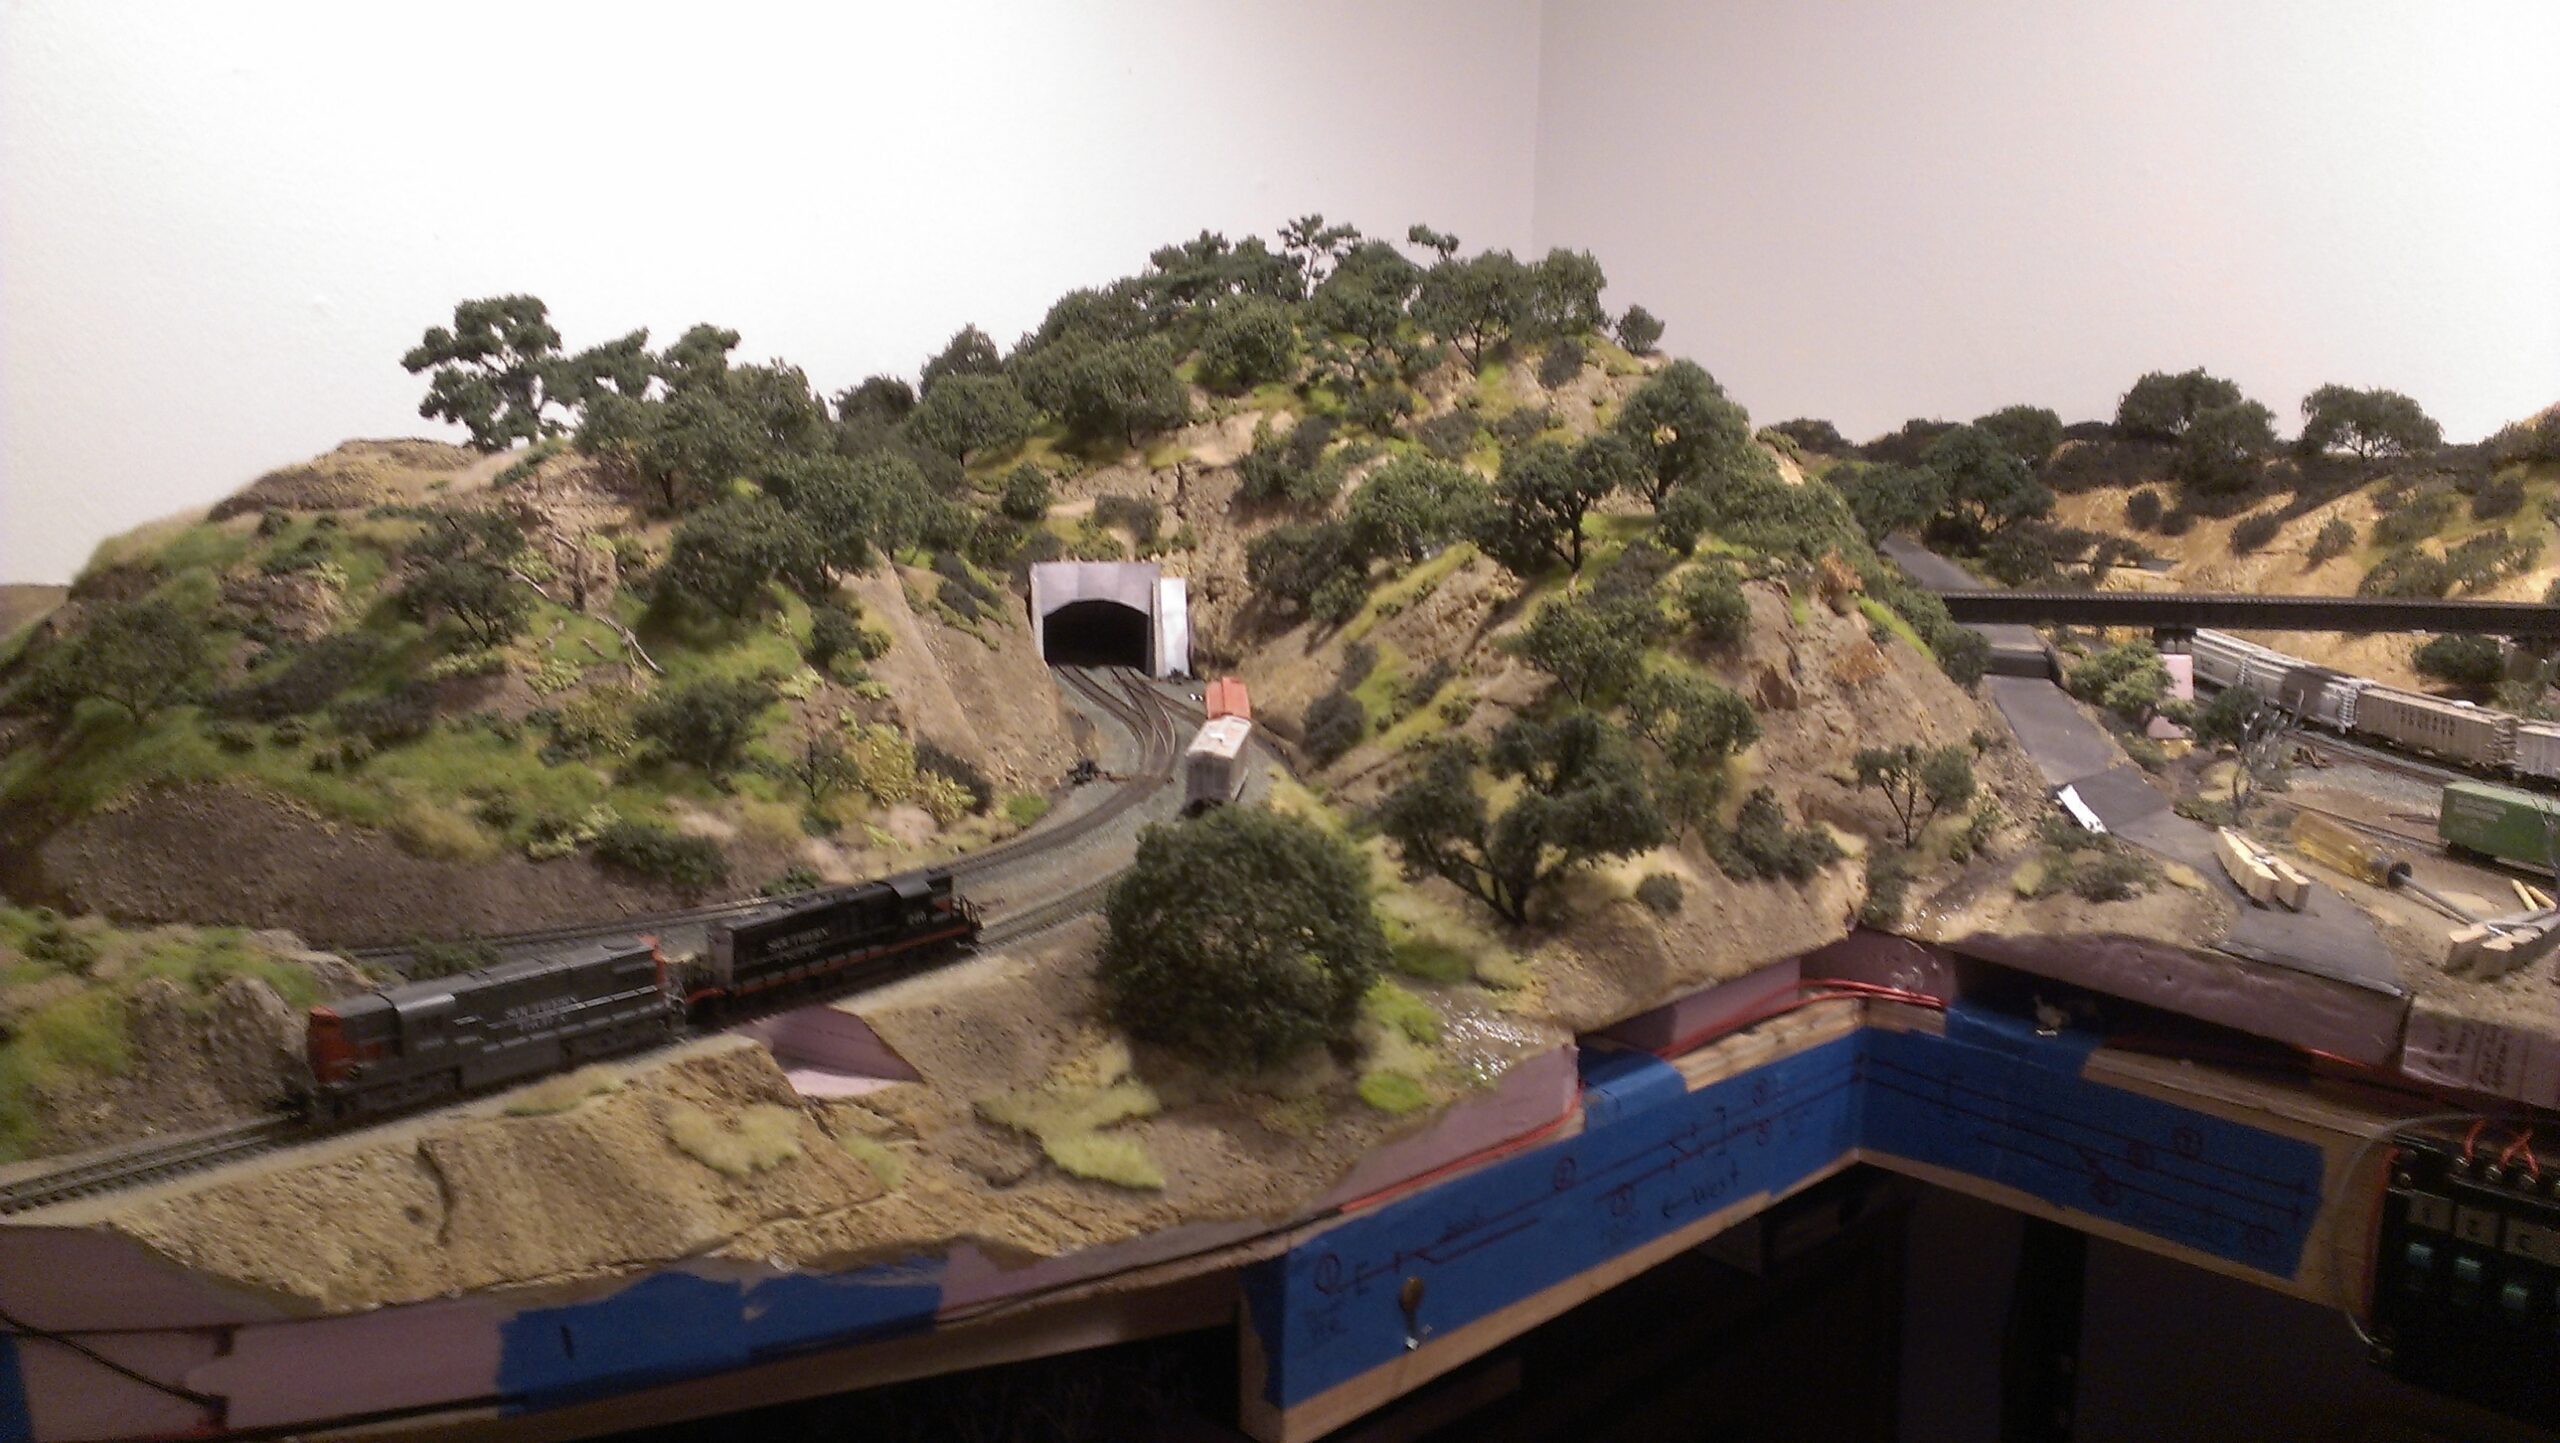
- Easy terrain shaping: You can carve below track level to make drainage ditches, shallow water features, creeks, gullies, and scenery transitions. Or stack layers to create mountains and hills.
- Simple cutting tools: Often cut with a utility knife, snap cutter, keyhole saw, or even an old serrated knife—no sawdust cloud.
- Versatile scenery base: Great if your goal is realistic terrain without complicated subroadbed methods.
Disadvantages of Foam for a Model Railroad
- Needs closer benchwork spacing: Foam can sag if the benchwork support is too wide. Options include tighter crossmembers or using thicker 2″ foam.
- Track usually must be glued: Foam doesn’t hold nails or screws well long-term. Many builders use acrylic latex caulk or similar foam-safe adhesive. Pins/push pins can hold track temporarily until cured.
- Switch machines need a mounting solution: Under-table switch machines often require a small plywood mounting pad glued to the foam in the turnout area.
- Foam debris can be messy: Cutting/shaping produces static-cling particles. A shop vac helps a lot.
Does Foam Make a Model Railroad Louder?
This is a common question. In real-world use, sound depends more on your full track system than the top material alone—roadbed choice (cork vs foam roadbed), adhesives, benchwork rigidity, and whether you have large hollow “drum” spaces beneath the surface all play a role.
Some people claim foam increases noise, while others never experience that problem. If sound is a concern, build a small test section with your preferred roadbed and adhesive before committing to the entire layout.
Choose the Best Surface: A Simple Checklist
Use this quick checklist to decide what surface is best for your model railroad:
- Need a lightweight layout? Choose foam.
- Want to carve ditches/streams below track level? Choose foam.
- Want to nail/spike track and change it easily? Choose plywood.
- Planning lots of under-table switch machines? Plywood is simpler (foam can still work with mounting pads).
- Limited tools / indoor workspace? Foam is easier to cut with hand tools, but can be staticky-messy; plywood needs saws/drills and dust control.
How To Build on Plywood (Simple Steps)
- Select thickness: Many builders use 1/2″ as a common balance of strength and weight (benchwork design matters).
- Cut safely: Circular saw or jigsaw. Wear a dust mask and manage sawdust if cutting indoors.
- Drill wiring holes: Plan feeder wires and turnout wiring early. Drill before scenery where possible.
- Install roadbed and track: Cork or foam roadbed, then fasten track with nails or adhesive (your preference).
- Plan scenery elevations: For below-grade scenery, decide early if you’ll use cookie-cutter subroadbed + risers or cut-away sections.
How To Build on Foam (XPS) (Simple Steps)
- Pick the foam: Use XPS insulation board (commonly 1″ or 2″). Thicker foam allows deeper carving.
- Support it well: Use tight enough benchwork spacing to prevent sagging.
- Glue foam to benchwork: Use a foam-safe adhesive (for example, foamboard-safe construction adhesive). Weight it while curing.
- Plan turnout machines early: If using under-table switch machines, glue a plywood mounting pad where the machine will mount.
- Lay roadbed/track with adhesive: Acrylic latex caulk is a popular choice. Use pins/push pins temporarily until cured, then ballast and glue normally.
- Carve scenery: Shape drainage ditches, shallow water features, and terrain forms with simple tools. Vacuum as you go.
Best of Both Worlds: Plywood + Foam Hybrid
If you want a rigid base and also want to carve scenery easily, a popular method is plywood topped with 1″–2″ of foam. This gives you plywood strength for stability and mounting, plus foam thickness for carving terrain and below-grade scenic elements.
FAQ: Plywood vs Foam for Model Railroad Layouts
Can I build a model railroad on foam only?
Yes—if your benchwork support is close enough to prevent sagging and you’re comfortable gluing track rather than nailing it.
What adhesive should I use for track on foam?
Many hobbyists use acrylic latex caulk or similar foam-safe adhesive. Use temporary pins until cured, then ballast and glue as normal.
What’s best for beginners?
Plywood is straightforward if you want nails and easy under-table mounting. Foam is also beginner-friendly if you want lightweight construction and easy scenery shaping—just plan for adhesives and proper support spacing.
Bottom Line
There isn’t one universally “best” surface—only what’s best for your goals. If you want a strong, nail-friendly surface and simple under-table mounting, choose plywood. If you want a lightweight tabletop surface and the ability to carve realistic terrain below track level, choose XPS foam board. And if you want both benefits, consider a plywood + foam hybrid.
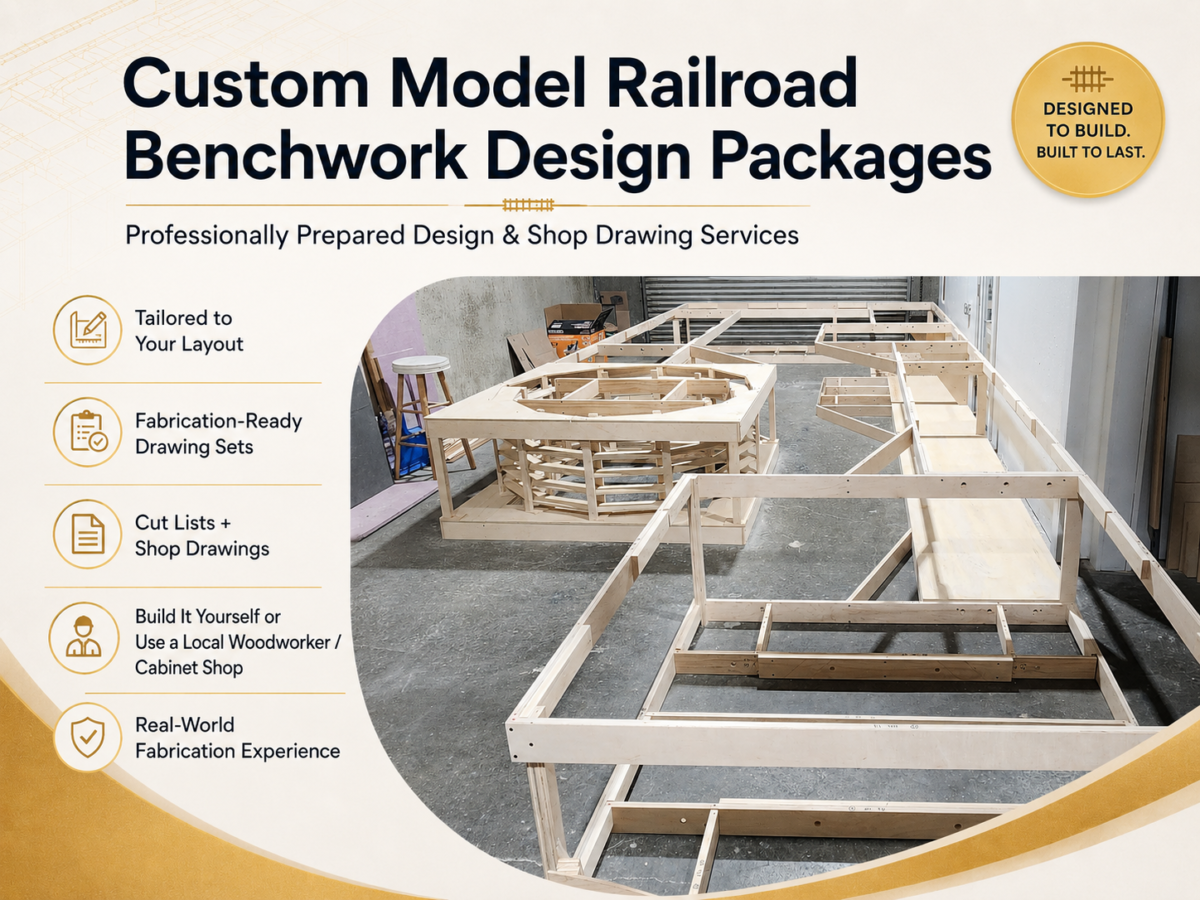
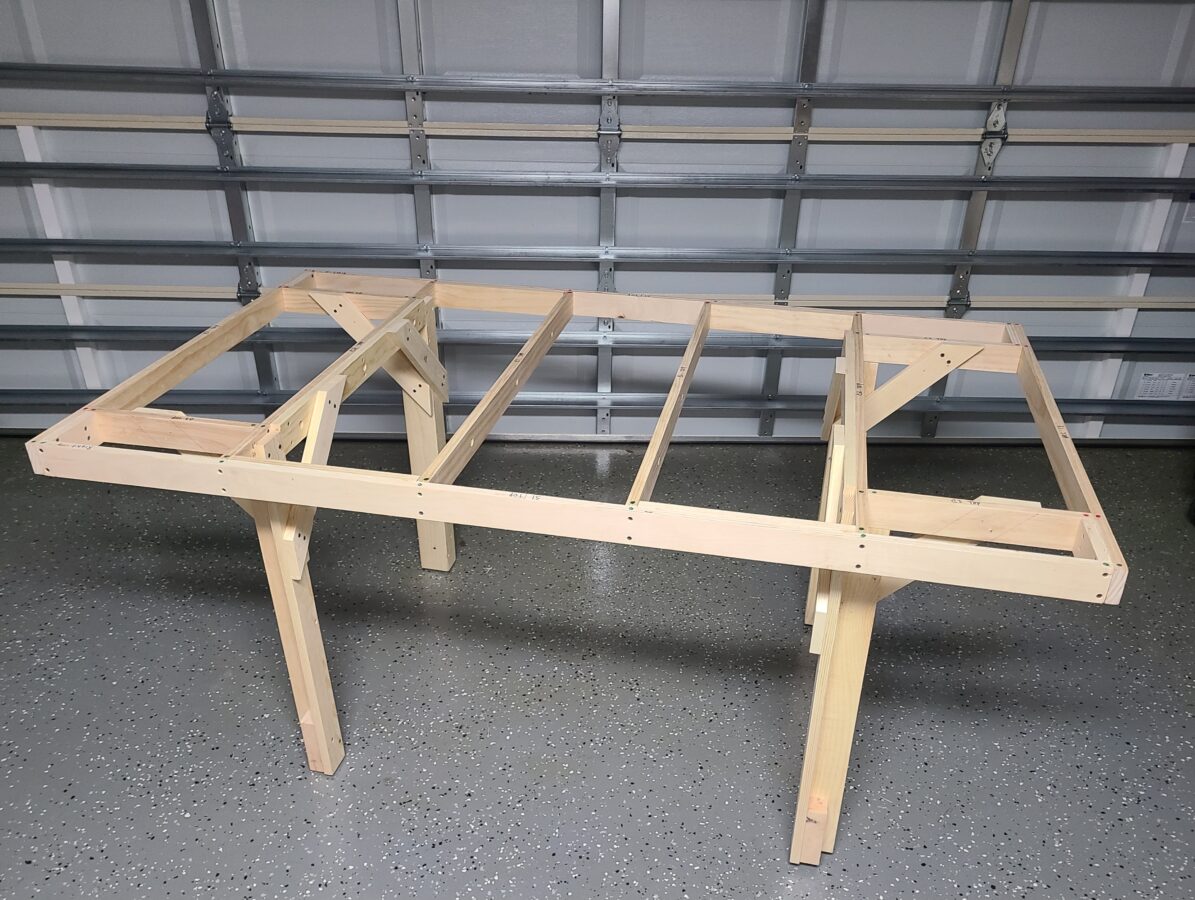
Planning custom benchwork? Benchwork Builder Pro automatically converts your project dimensions into assembly drawings, part drawings, cut lists and hardware schedules. Available for Windows in imperial and metric units.
At the Model Railroad Benchwork Store, we provide benchwork and complete table kits that are lightweight and strong enough to support either plywood or foam tops, so you can choose the surface that fits your layout plan, tools, and workspace.
Copyright 2026 The Model Railroad Benchwork Store/Model Railway Techniques.com All Rights Reserved
Last Updated on 11 hours ago ago by James from Model Railway Techniques